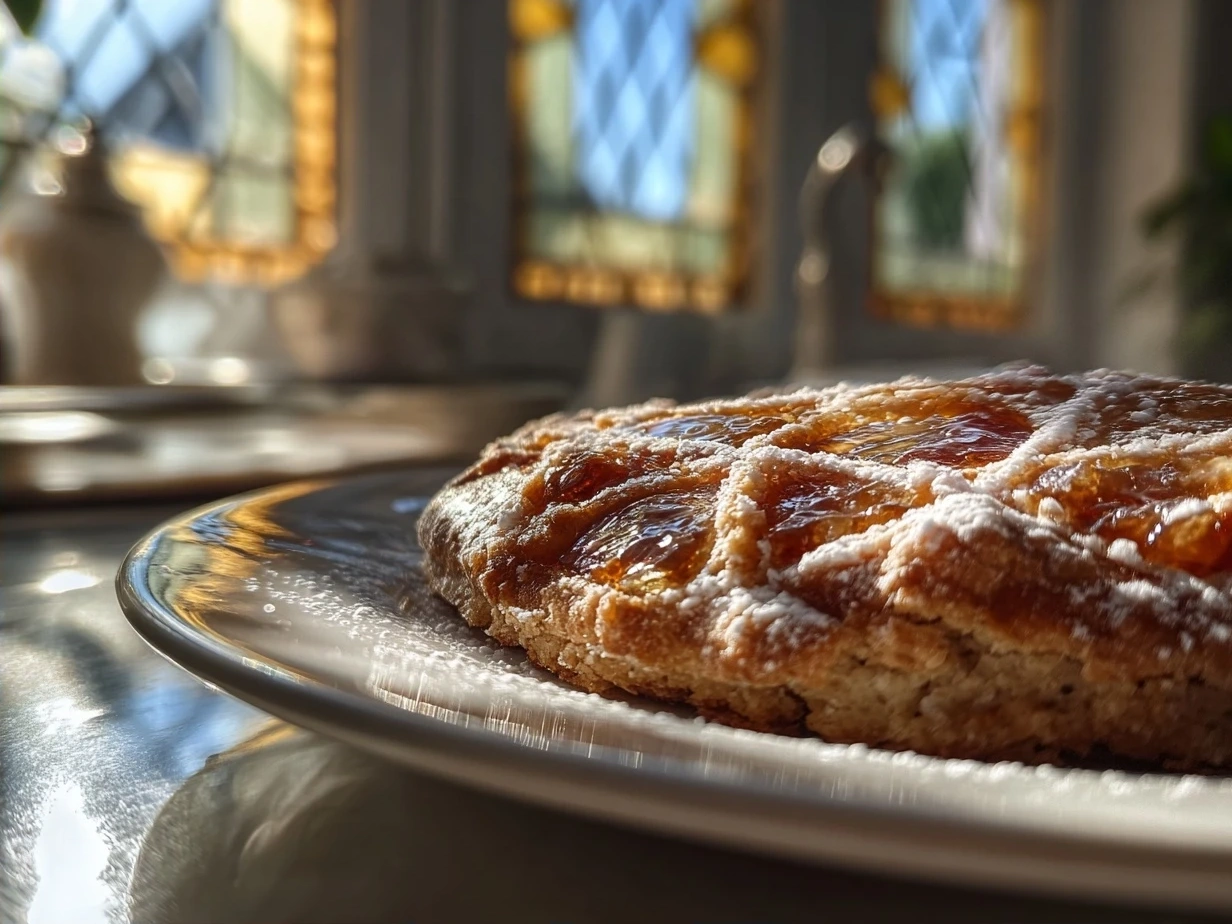
I’m so excited to share the magic of Stained Glass Cookies with you! This recipe became one of my all-time favorites during a late-night kitchen experiment when I craved something sweet that could double as edible art. The moment those vibrant, jewel-like cookie centers caught the light, I was hooked. These cookies aren’t just pretty—they’re packed with cozy, bold flavor that transports you to your happiest dessert moments.
Ingredients You Need
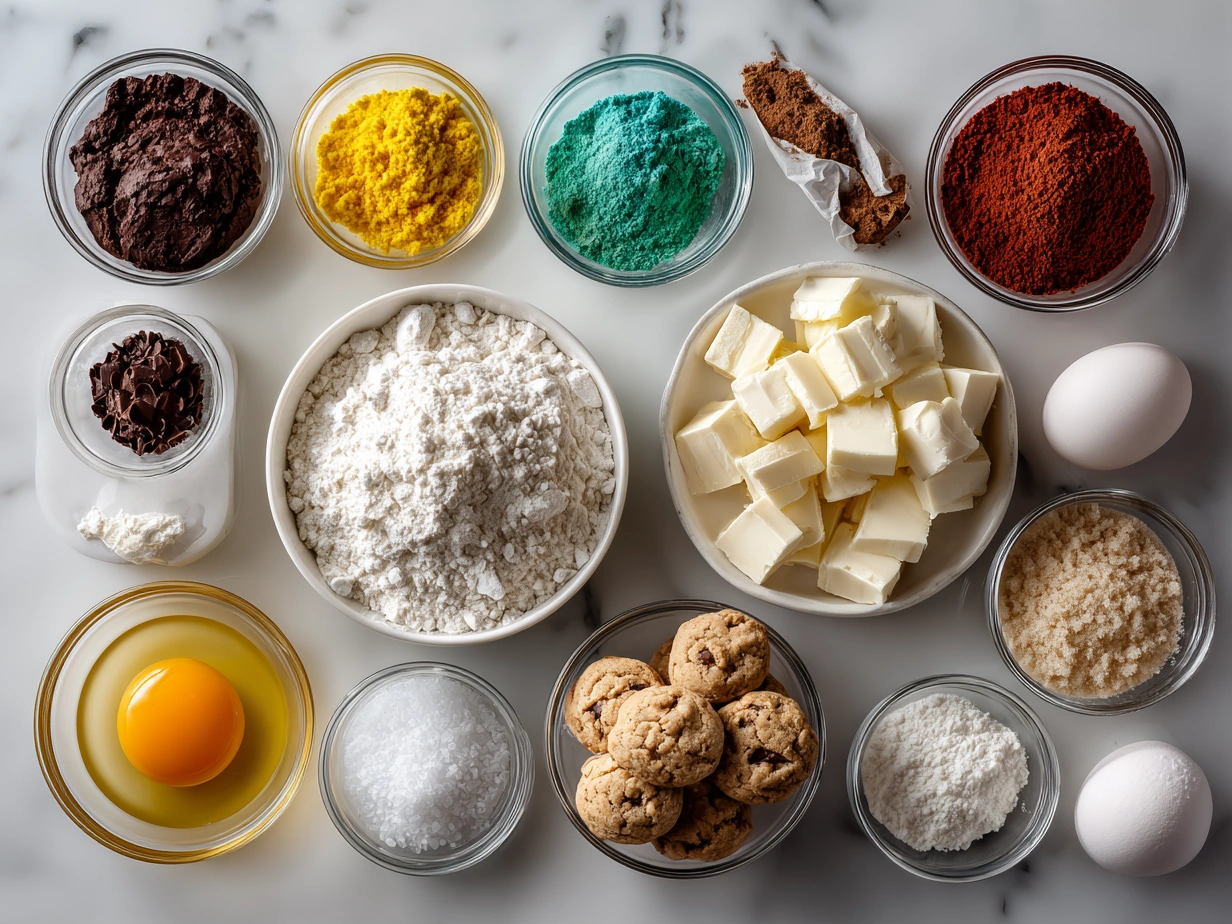
To whip up these show-stopping Stained Glass Cookies, here’s what you’ll want on hand:
- 2 ¾ cups all-purpose flour – The base for our sugar cookies, creating the perfect dough to hold the candy center.
- 1 teaspoon baking soda
- ½ teaspoon baking powder
- 1 cup unsalted butter, softened – Adds richness and that melt-in-your-mouth feel.
- 1 ½ cups granulated sugar – For that classic sugar cookie sweetness.
- 1 large egg
- 1 teaspoon vanilla extract – Adds an extra flavor boost.
- ½ teaspoon almond extract (optional) – Gives a subtle nutty twist that pairs beautifully with the candy centers.
- Assorted hard candies (Peppermints, Jolly Ranchers, or Life Savers) – These make the cookie centers vibrant and colorful.
If you don’t have vanilla extract, a splash of maple syrup works wonderfully for a cozy twist. For quick butter softening, pop it in the microwave for 10 seconds. Find all ingredients in your regular grocery store—no specialty trips needed! Once baked, store these beauties in an airtight container to keep them crisp and fresh for up to a week.
Sometimes I add a pinch of cinnamon for warmth, making these stained glass candy cookies extra cozy. For busy nights, unwrap your hard candies ahead to save time during assembly.
Let’s Make Some!
Ready to turn your kitchen into a colorful candy land? Follow these steps to create delicious Stained Glass Cookies!
Step 1: Preheat your oven to 375°F (190°C). Line baking sheets with parchment paper to prevent sticking.
Step 2: Whisk together the flour, baking soda, and baking powder in a bowl.
Step 3: Cream the softened butter and sugar until light and fluffy using a mixer. Add the egg, vanilla extract, and almond extract (if using), then blend until smooth.
Step 4: Gradually add the dry ingredients until the dough forms, but don’t overmix to keep it tender.
Step 5: Roll the dough on a floured surface to about ¼ inch thick, perfect for holding candy centers without breaking.
Step 6: Use cookie cutters to cut solid shapes first, then smaller cutters inside each to form the window centers. Place the pieces on lined baking sheets.
Step 7: Crush your hard candies into small, even pieces for the best stained glass effect.
Step 8: Fill the center cutouts with a spoonful of crushed candies—this melts into colorful glass as it bakes.
Step 9: Bake for 8-10 minutes. Your kitchen will smell like warm sugar, vanilla, and melted candy.
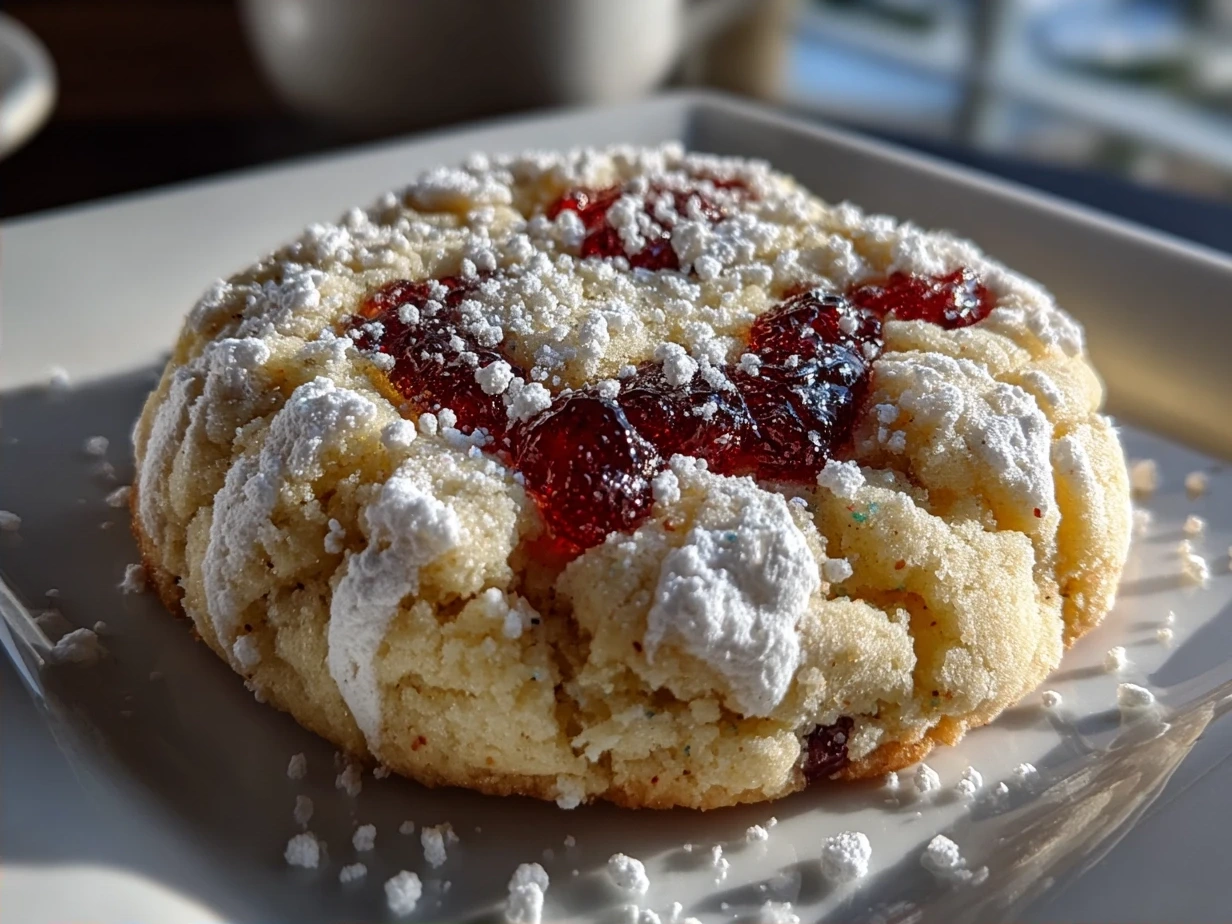
Step 10: Cool on the baking sheet for 5 minutes before transferring to a wire rack. The candy centers will harden as they cool, showcasing their beautiful stained glass look.
Don’t worry if your candy looks bubbly or uneven—it adds character and tastes amazing every time. While cooling, pour yourself a cup of tea or coffee and get ready for that first satisfying crunch!
How to Serve Up This!
These Stained Glass Cookies are more than cookies—they’re a centerpiece. Perfect for holiday parties, brunches, or cozy game nights, their translucent candy centers catch the light for a mini celebration with every bite.
Pair them with bright citrus teas like lemon or raspberry, or rich hot chocolate for a bold contrast. For a tropical flair, try pineapple or coconut drinks alongside—the fusion will surprise you!
To wow guests, arrange cookies on a platter lined with evergreen sprigs or edible flowers. The colors and shapes will be the talk of the party.
Leftovers? Crumble cookie frames and candy centers into vanilla ice cream for a crunchy, sweet swirl, or toss pieces into warm apple cider for a melt-in-your-mouth combo.
I’ve also tried crushed strawberry-flavored candies for a fruity punch. There’s no limit to making this recipe your family favorite with your own twist!
If you enjoy this comfort food twist, try other favorites like lemon raspberry cookies, pumpkin s’mores cookies, or oatmeal raisin cookies. Each offers bold, satisfying flavors perfect for any mood.
FAQs
Will kitchen newbies succeed with this Stained Glass Cookies recipe?
Absolutely! This recipe is straightforward and fun. Prepping candy centers ahead and not overbaking the dough are the keys to success. New bakers nail this easily and impress friends every time.
What if I mess up my Stained Glass Cookies?
No worries! Slightly bubbled or uneven candy centers add character and taste delicious. Baking is about enjoying the process, not perfection.
Can I use different candies for my stained glass window cookies?
Yes! Peppermint, cherry, lemon, and cinnamon candies work great. Avoid cream-centered candies as they don’t melt properly.
How can I prep this recipe for busy weeknights?
Make dough and crush candies ahead, then chill the dough overnight. On baking day, cut, fill, bake, and cool—easy and quick.
What is the best way to store these cookies?
Store in an airtight container with parchment layers at room temperature for up to a week. If candy centers soften, a quick chill restores crispness.
Can I freeze stained glass sugar cookies?
Yes, freeze unbaked dough logs wrapped well, slice and bake when ready. Baked cookies freeze too, but candy centers might become cloudy when thawed.
How long does it take to make these cookies?
About an hour from start to finish, including baking and cooling. With practice, it becomes a joyful kitchen ritual.
For more stained glass cookie inspiration, check out this beautiful Stained Glass Window Cookies recipe at Sally’s Baking, or if you prefer a no-bake option, try No Bake Stained Glass Window Cookies from Joyfully Mad. For classic techniques and helpful tips, I recommend Cooking Classy’s Stained Glass Cookies.
Conclusion
What I love most about making Stained Glass Cookies is the cozy comfort food paired with playful color surprise. This cookie evokes childhood nostalgia with an adult twist of candy crunch and buttery softness. The endless creativity in mixing colors, shapes, and flavors keeps me coming back for more.
My Stained Glass Cookies Flavor Secrets:
- Add a touch of almond extract to deepen flavor without overpowering.
- Use a combo of peppermint and fruit-flavored candies for layered taste.
- Chill dough well before cutting to keep shapes crisp and colors clear.
I’ve experimented with citrus candy centers for tangy twists, classic mint for cool peppermint pop, and spicy cinnamon for bold warmth. Holidays call for peppermint and spices, while summer is perfect for bright, fruity stained glass treats.
Trust your taste buds and enjoy experimenting! Your kitchen is the perfect playground for this colorful, bold flavor adventure. I can’t wait to hear how your stained glass cookies turn out and how much joy they bring to your table.
If you want more weeknight winners that don’t sacrifice taste, try my lemon raspberry cookies and oatmeal raisin cookies. For cozy seasonal indulgence, pumpkin s’mores cookies are a new go-to for me. Each recipe is a flavor-packed joy ride!
Get ready to fill your home with the sweet scent of fresh Stained Glass Cookies and smiles all around! Let’s keep those flavor adventures cooking and ovens warm. I’m cheering you on every bite of the way!
Stained Glass Cookies
Stained Glass Cookies are colorful, festive sugar cookies with translucent centers made from melted candy that create a beautiful stained glass effect. Perfect for holidays and special occasions, these cookies are as delightful to look at as they are to eat.
- Prep Time: 20 minutes
- Cook Time: 10 minutes
- Total Time: 30 minutes
- Yield: 24 cookies
- Category: Dessert
- Method: Baked
- Cuisine: American
Ingredients
- 2 ¾ cups all-purpose flour
- 1 teaspoon baking soda
- ½ teaspoon baking powder
- 1 cup unsalted butter, softened
- 1 ½ cups white sugar
- 1 egg
- 1 teaspoon vanilla extract
- ½ teaspoon almond extract (optional)
- ½ cup crushed hard candies (peppermints, Jolly Ranchers, or Lifesavers), sorted by color
Instructions
- Preheat oven to 350°F (175°C). Line baking sheets with parchment paper.
- In a small bowl, whisk together flour, baking soda, and baking powder; set aside.
- In a large bowl, cream together the butter and sugar until smooth and fluffy.
- Beat in the egg, vanilla extract, and almond extract if using.
- Gradually blend in the dry ingredients until dough forms.
- Roll out dough to about ¼ inch thickness on a floured surface.
- Use a large cookie cutter to cut out shapes. Use smaller cutters to cut out the centers of each cookie.
- Place cookies on baking sheets.
- Fill cut-out centers with crushed hard candies (choose colors as desired).
- Bake for 8-10 minutes or until the cookies are just turning golden and the candy centers are melted.
- Allow cookies to cool completely on the baking sheet so the candy hardens.
- Carefully remove cookies and enjoy your stained glass effect treats!
Notes
For best results, use clear, hard candies and avoid colored sugar crystals for the centers. Store cookies in an airtight container to keep them crisp.