Hey there, fellow food lovers! Nyla here, ready to turn your kitchen into a comfort food wonderland. Get ready to amp up your cookie game with these Christmas Lights Cookies – seriously, they’re about to make your holiday baking so much more fun.
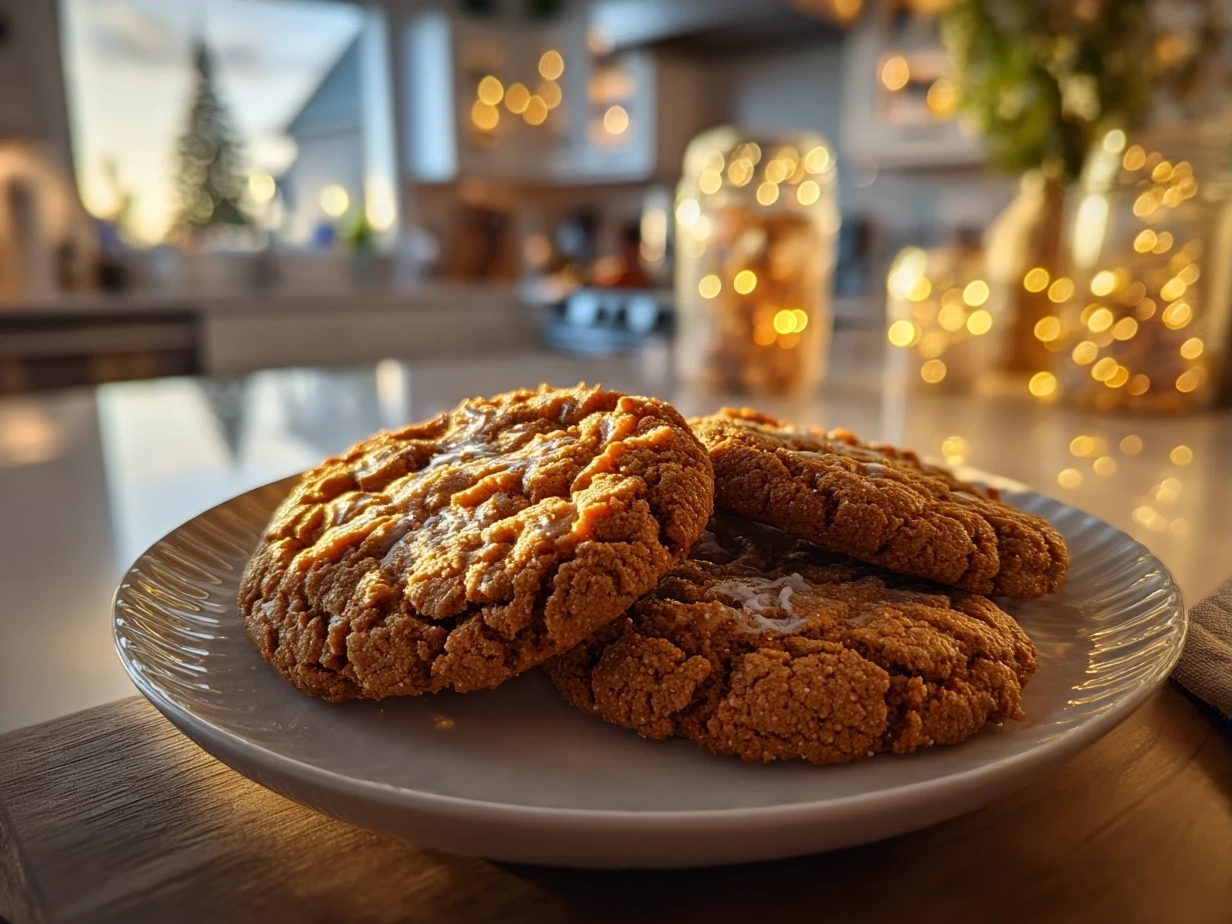
I’m all about creating mouthwatering meals that don’t take all day, and these Christmas Lights Cookies are proof of that. They bring together that homemade goodness with a dash of pure, playful whimsy. Picture this: soft sugar cookies transformed into edible Christmas lights, complete with vibrant royal icing “bulbs”.
I remember baking these one late night last December, fueled by Christmas carols and a serious craving for something festive. I was playing around with colors and shapes, and BAM! The Christmas Lights Cookies were born! It was a happy accident that turned into a holiday baking tradition.
These aren’t your average holiday cookies. They’re like little edible artworks. Each bite is a burst of sweet, buttery goodness, followed by that satisfying crunch of the royal icing. Trust me, the smiles you’ll get when you share these Christmas Lights Cookies are totally worth it!
So, are you ready to light up your kitchen and create something truly special? Let’s get baking! I’m so excited to share this delicious flavor adventure with you. Let’s make some Christmas Lights Cookies!
INGREDIENTS You Need
This Christmas Lights Cookies ingredient list is all about simple goodness that delivers big on flavor. Let’s gather the essentials to create some baking magic!
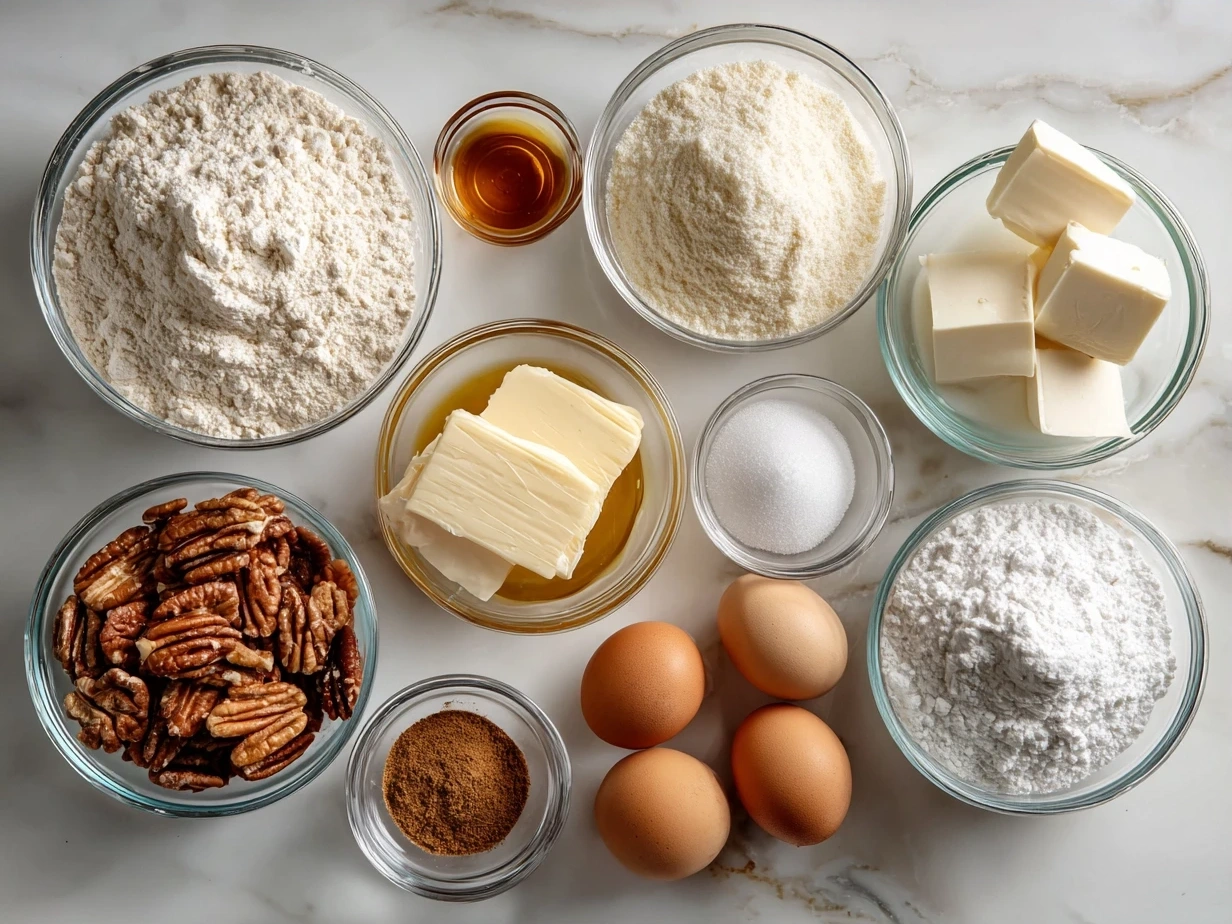
- 3 cups all-purpose flour: This forms the base of our delightful sugar cookies.
- 1 cup (2 sticks) unsalted butter, softened: This adds richness and that melt-in-your-mouth texture.
- 1 cup granulated sugar: For the perfect sweetness that makes these Christmas Lights Cookies irresistible.
- 1 large egg: This binds everything together beautifully.
- 1 teaspoon vanilla extract: This enhances the flavors and adds a touch of warmth.
- 1/2 teaspoon baking powder: To give the cookies a light and airy texture.
- 1/4 teaspoon salt: This balances the sweetness and brings out all the other flavors.
- Royal Icing (recipe follows): The canvas for our Christmas lights masterpiece.
- 4 cups powdered sugar: This creates the smooth and sweet base of our royal icing.
- 3 tablespoons meringue powder: This helps the icing to harden properly.
- 1/2 cup warm water: To bring it all together and create the perfect consistency.
- Gel food coloring: To bring your Christmas Lights Cookies to life with vibrant colors!
No worries if you don’t have meringue powder – I sometimes use pasteurized egg whites instead in my Christmas Lights Cookies. You can grab these ingredients during your normal shopping trip.
This Christmas Lights Cookies recipe gets its amazing festive look from the gel food coloring and how we arrange them on each cookie.
Here’s my Christmas Lights Cookies secret that takes it from good to incredible: A tiny pinch of almond extract in the sugar cookie dough! It adds an unexpected warmth that complements the vanilla.
Store your flour and sugar in airtight containers to keep them fresh. I love adding a little extra vanilla extract to my Christmas Lights Cookies for that extra layer of cozy flavor.
Let’s Make Some!
Alright, fellow food lovers, let’s dive into making these adorable Christmas Lights Cookies! I promise, it’s easier than you think, and the results are so worth it.
- Cream Together Butter and Sugar: In a large bowl, cream together the softened butter and granulated sugar until light and fluffy. This usually takes about 3-5 minutes with an electric mixer. This is where the magic starts happening! Make sure everything is well-combined for the perfect cookie texture.
- Add Egg and Vanilla: Beat in the egg and vanilla extract until well combined. The mixture should be smooth and creamy. This adds richness and depth to our cookies.
- Combine Dry Ingredients: In a separate bowl, whisk together the flour, baking powder, and salt. This ensures that the baking powder and salt are evenly distributed throughout the dough.
- Gradually Add Dry Ingredients to Wet Ingredients: Gradually add the dry ingredients to the wet ingredients, mixing until just combined. Be careful not to overmix, or your cookies will be tough. While your dough is coming together, get ready for some amazing aromas! It smells like vanilla-infused happiness in here!
- Chill the Dough: Wrap the dough in plastic wrap and chill for at least 1 hour. This helps the dough to firm up and prevents the cookies from spreading too much in the oven. I usually chill mine for 2 hours for the best results! This is a crucial step, so don’t skip it.
- Roll Out the Dough and Cut Out Shapes: Preheat your oven to 375°F (190°C). On a lightly floured surface, roll out the dough to about 1/4 inch thickness. Use cookie cutters to cut out your desired shapes. I like to use circles for the base of my Christmas Lights Cookies.
- Bake the Cookies: Place the cookies on a baking sheet lined with parchment paper. Bake for 8-10 minutes, or until the edges are lightly golden brown. In my kitchen, this Christmas Lights Cookies usually takes about 9 minutes to reach that perfect golden hue.
- Cool Completely: Let the cookies cool on the baking sheet for a few minutes before transferring them to a wire rack to cool completely. This prevents them from breaking.
- Make the Royal Icing: In a large bowl, combine the powdered sugar and meringue powder. Add the warm water and mix until smooth. Divide the icing into separate bowls and add gel food coloring to each bowl to create your desired colors. This is my favorite part of making Christmas Lights Cookies – watch the magic happen!
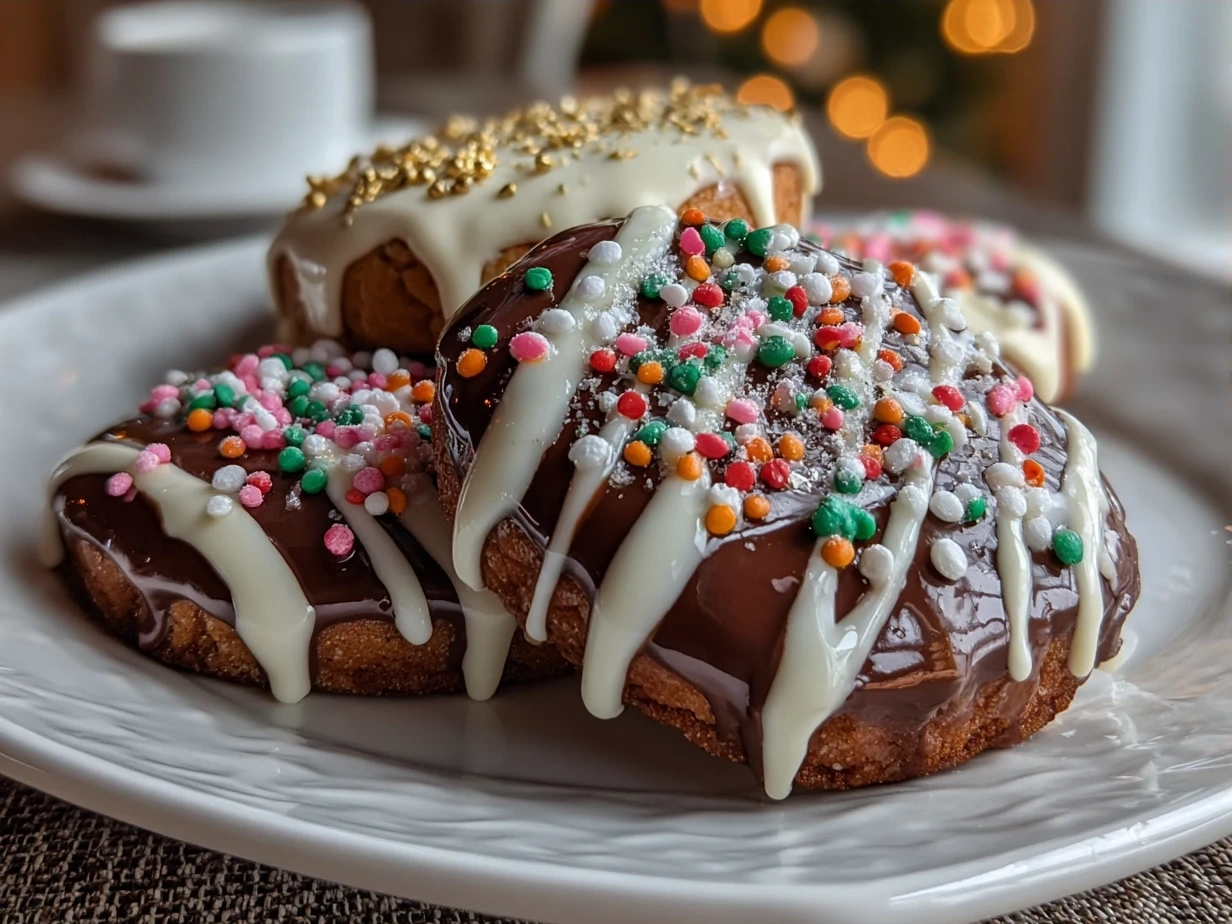
- Decorate the Cookies: Transfer the icing to piping bags fitted with small round tips. Pipe small dots of icing onto the cookies to resemble Christmas lights. Get creative with your colors and patterns! This is where your artistic flair comes into play. Don’t worry if your Christmas Lights Cookies looks a little wonky – that’s part of their charm!
- Let the Icing Harden: Let the icing harden completely before serving or storing. This usually takes a few hours. Once the icing has set, your Christmas Lights Cookies are ready to shine!
How to Serve Up This!
People literally do happy dances when this Christmas Lights Cookies hits the table with a mug of hot cocoa. It’s the ultimate cozy treat!
I love serving these Christmas Lights Cookies with a side of peppermint bark for that extra burst of holiday flavor. A warm cup of spiced apple cider is also a perfect complement.
These Christmas Lights Cookies are perfect for holiday parties, cookie exchanges, or even as a fun activity for kids. They also make a thoughtful and delicious homemade gift.
For a fun presentation, arrange the Christmas Lights Cookies on a festive platter with some greenery and other holiday treats. You can also package them in cellophane bags tied with colorful ribbons.
If you have any leftover cookies (which is rare!), you can crumble them over ice cream or use them as a topping for yogurt. I’ve even used them in milkshakes for an extra festive touch!
I’ve experimented with adding different flavors to the royal icing, like lemon or orange extract. These variations add a unique twist to the classic Christmas Lights Cookies.
The first time I served these Christmas Lights Cookies at a holiday gathering, they were gone in minutes! Everyone loved the adorable design and the delicious taste.
This Christmas Lights Cookies reminds me of another bold flavor favorite – check out these tasty lemon raspberry cookies for another sweet treat. For more weeknight winners that don’t sacrifice on taste, check out these pumpkin smores cookies.
FAQs:
Got questions about these Christmas Lights Cookies? I’ve got answers! Here are some common concerns and my tried-and-true solutions.
Will kitchen newbies succeed with this Christmas Lights Cookies recipe?
Absolutely! This recipe is designed to be beginner-friendly. Just follow the steps carefully, and you’ll be creating beautiful and delicious Christmas Lights Cookies in no time.
What if I mess up my Christmas Lights Cookies? (Spoiler: it’ll still taste incredible!)
Don’t sweat it! Even if your cookies aren’t perfectly shaped or your icing is a little wonky, they’ll still taste amazing. Imperfect cookies are just as delicious.
How can I prep this Christmas Lights Cookies for busy weeknights?
You can make the sugar cookie dough ahead of time and store it in the refrigerator for up to 2 days. You can also make the royal icing a day in advance and store it in the refrigerator. Just be sure to bring it to room temperature before using.
Can I freeze the sugar cookie dough or the baked cookies?
Yes, you can freeze the sugar cookie dough for up to 2 months. Wrap it tightly in plastic wrap and then place it in a freezer bag. You can also freeze the baked cookies for up to 1 month. Just be sure to thaw them completely before decorating.
What if my royal icing is too thick or too thin?
If your royal icing is too thick, add a little bit of water, one teaspoon at a time, until you reach the desired consistency. If it’s too thin, add a little bit of powdered sugar, one tablespoon at a time, until it thickens up. Here’s a Tasty royal icing recipe for decorating cookies.
Can I use different cookie cutters for this recipe?
Of course! Feel free to use any cookie cutters you like. Just be sure to adjust the baking time accordingly. I’ve used star-shaped cutters, gingerbread men, and even Christmas trees for these Christmas Lights Cookies.
What’s the best way to store these Christmas Lights Cookies?
Store the decorated cookies in an airtight container at room temperature. They’ll stay fresh for up to 5 days. I usually layer them between sheets of parchment paper to prevent the icing from sticking.
Can I use different extracts in the sugar cookie dough?
Absolutely! Feel free to experiment with different extracts, like almond, lemon, or orange. These extracts can add a unique flavor to your Christmas Lights Cookies.
What if my cookies spread too much in the oven?
This usually happens when the dough is too warm. Make sure to chill the dough for at least 1 hour before rolling it out. You can also try adding a little bit more flour to the dough. These Christmas Sugar Cookies Recipe with Easy Icing – Sally’s Baking give some extra tips about avoiding cookies spreading.
CONCLUSION:
These Christmas Lights Cookies bring me so much joy because they combine my love for baking with my love for the holidays. They’re a fun and festive treat that always brings a smile to everyone’s face.
- Almond Extract: A tiny pinch of almond extract in the sugar cookie dough adds a warm, nutty flavor.
- Gel Food Coloring: Using gel food coloring allows you to achieve vibrant and intense colors in your royal icing.
- Piping Bags: Invest in some good quality piping bags for precise and detailed decorating.
- Peppermint Christmas Lights Cookies: Add peppermint extract to the royal icing for a refreshing twist.
- Chocolate Christmas Lights Cookies: Add cocoa powder to the sugar cookie dough for a rich, chocolatey flavor.
- Gingerbread Christmas Lights Cookies: Use gingerbread cookie dough instead of sugar cookie dough for a spicy and festive treat.
I’m so excited for you to try this recipe and create your own delicious Christmas Lights Cookies. Get ready for some serious baking fun! These oatmeal raisin cookies may be right up your alley too! Happy baking, and happy holidays! 💕🔥
\n \n Print
Christmas Lights Cookies

These festive Christmas Lights Cookies are a fun and delicious way to celebrate the holiday season! Soft sugar cookies are decorated with colorful icing and candy ‘lights’ for a treat that’s both beautiful and tasty.
- Prep Time: 30 minutes
- Cook Time: 10 minutes
- Total Time: 40 minutes
- Yield: 24 cookies
- Category: Dessert
- Method: Baked
- Cuisine: American
Ingredients
- 1 cup (2 sticks) unsalted butter, softened
- 1 ½ cups granulated sugar
- 2 large eggs
- 1 teaspoon vanilla extract
- 3 cups all-purpose flour
- 1 teaspoon baking powder
- ½ teaspoon salt
- Royal icing (recipe follows)
- Mini M&Ms or other small, colorful candies
Royal Icing:
- 4 cups powdered sugar
- 3 tablespoons meringue powder
- ½ cup warm water, plus more as needed
- Gel food coloring
Instructions
- Make the Cookies: In a large bowl, cream together the butter and sugar until light and fluffy. Beat in the eggs one at a time, then stir in the vanilla.
- In a separate bowl, whisk together the flour, baking powder, and salt. Gradually add the dry ingredients to the wet ingredients, mixing until just combined.
- Divide the dough in half, flatten each half into a disc, and wrap in plastic wrap. Refrigerate for at least 1 hour.
- Preheat oven to 350°F (175°C). Line baking sheets with parchment paper.
- On a lightly floured surface, roll out one disc of dough to ¼-inch thickness. Use cookie cutters to cut out desired shapes.
- Place cookies on the prepared baking sheets and bake for 8-10 minutes, or until the edges are lightly golden. Let cool on the baking sheets for a few minutes before transferring to a wire rack to cool completely.
- Make the Royal Icing: In a large bowl, combine the powdered sugar and meringue powder. Gradually add the warm water, mixing until smooth. Add more water, 1 tablespoon at a time, until the icing reaches your desired consistency.
- Divide the icing into separate bowls and tint with gel food coloring as desired.
- Decorate the Cookies: Use a piping bag or squeeze bottle to outline and flood the cookies with icing.
- While the icing is still wet, attach the mini M&Ms or other candies to create a string of Christmas lights.
- Let the icing set completely before serving.
Notes
For best results, let the royal icing dry completely overnight. You can also use store-bought sugar cookie dough and royal icing to save time.