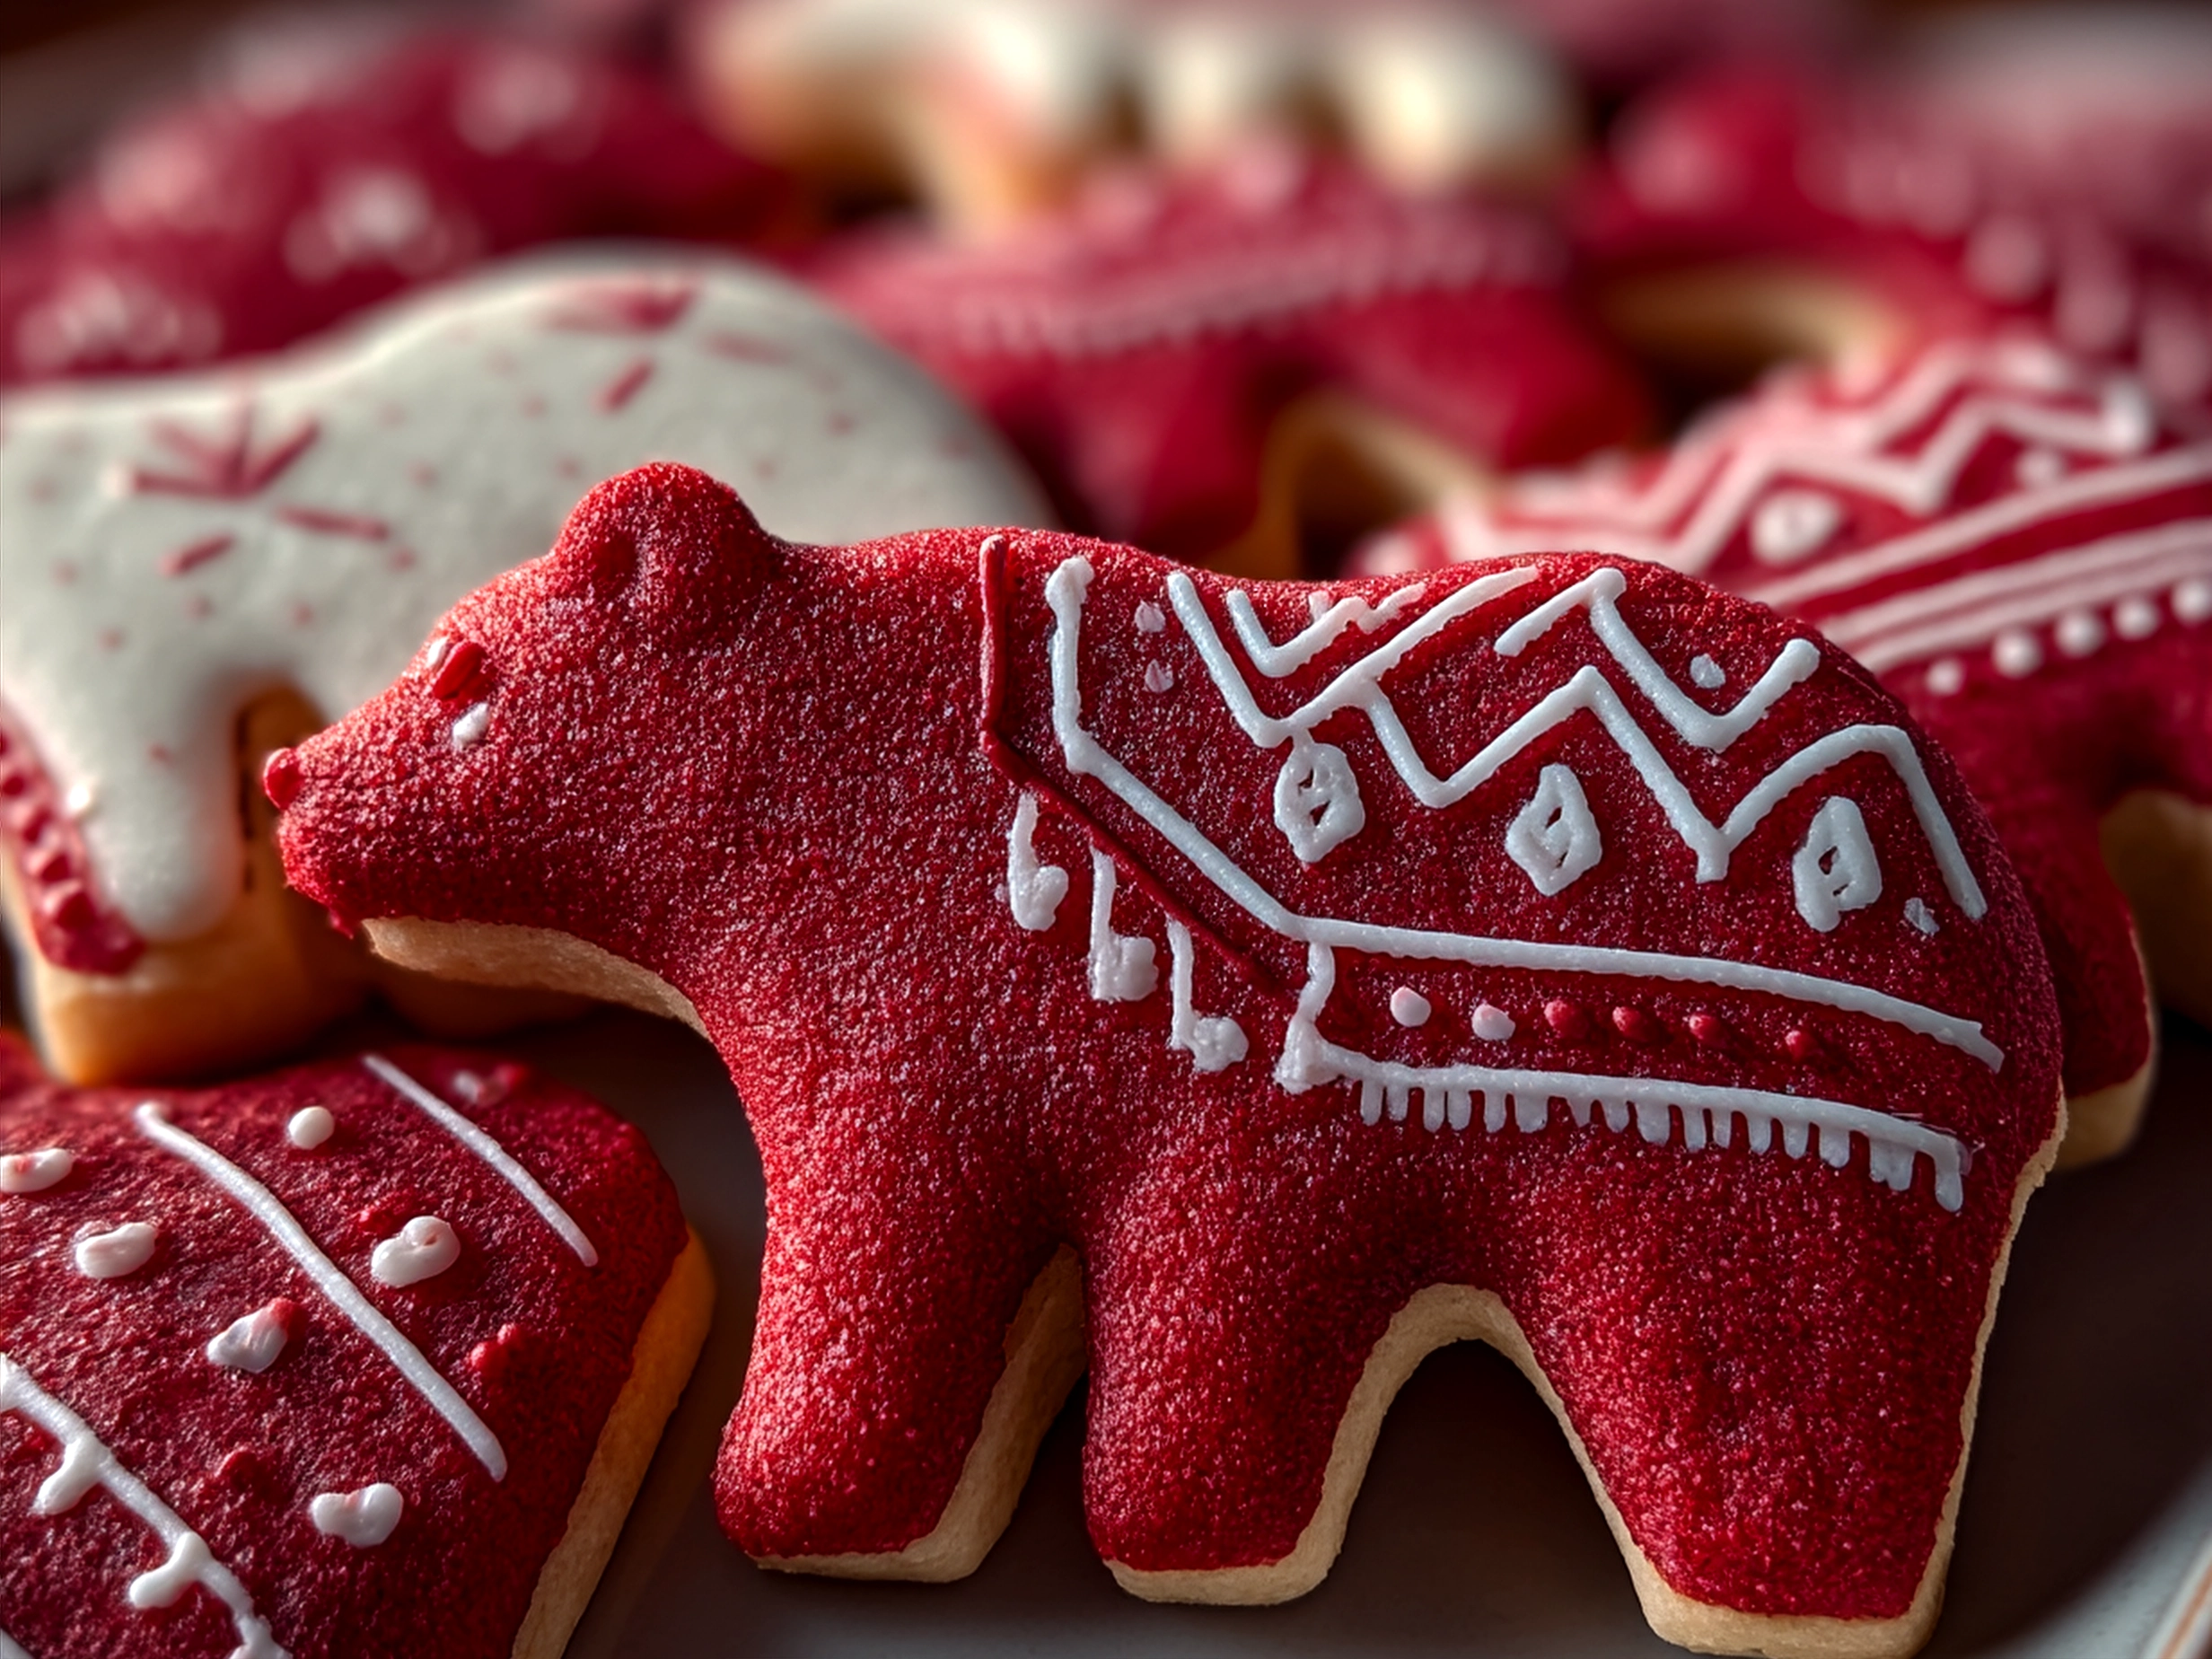
I’ve gotta tell you about the moment when Red Velvet Bear Cookies totally stole the show in my kitchen. Picture me, late at night, fiddling with a classic red velvet cookie recipe, aiming for something cozy but with a fresh twist. I wanted to turn those warm, rich flavors into something fun and whimsical. That’s when the idea hit: why not make adorable bear-shaped cookies that bring both comfort and a playful vibe?
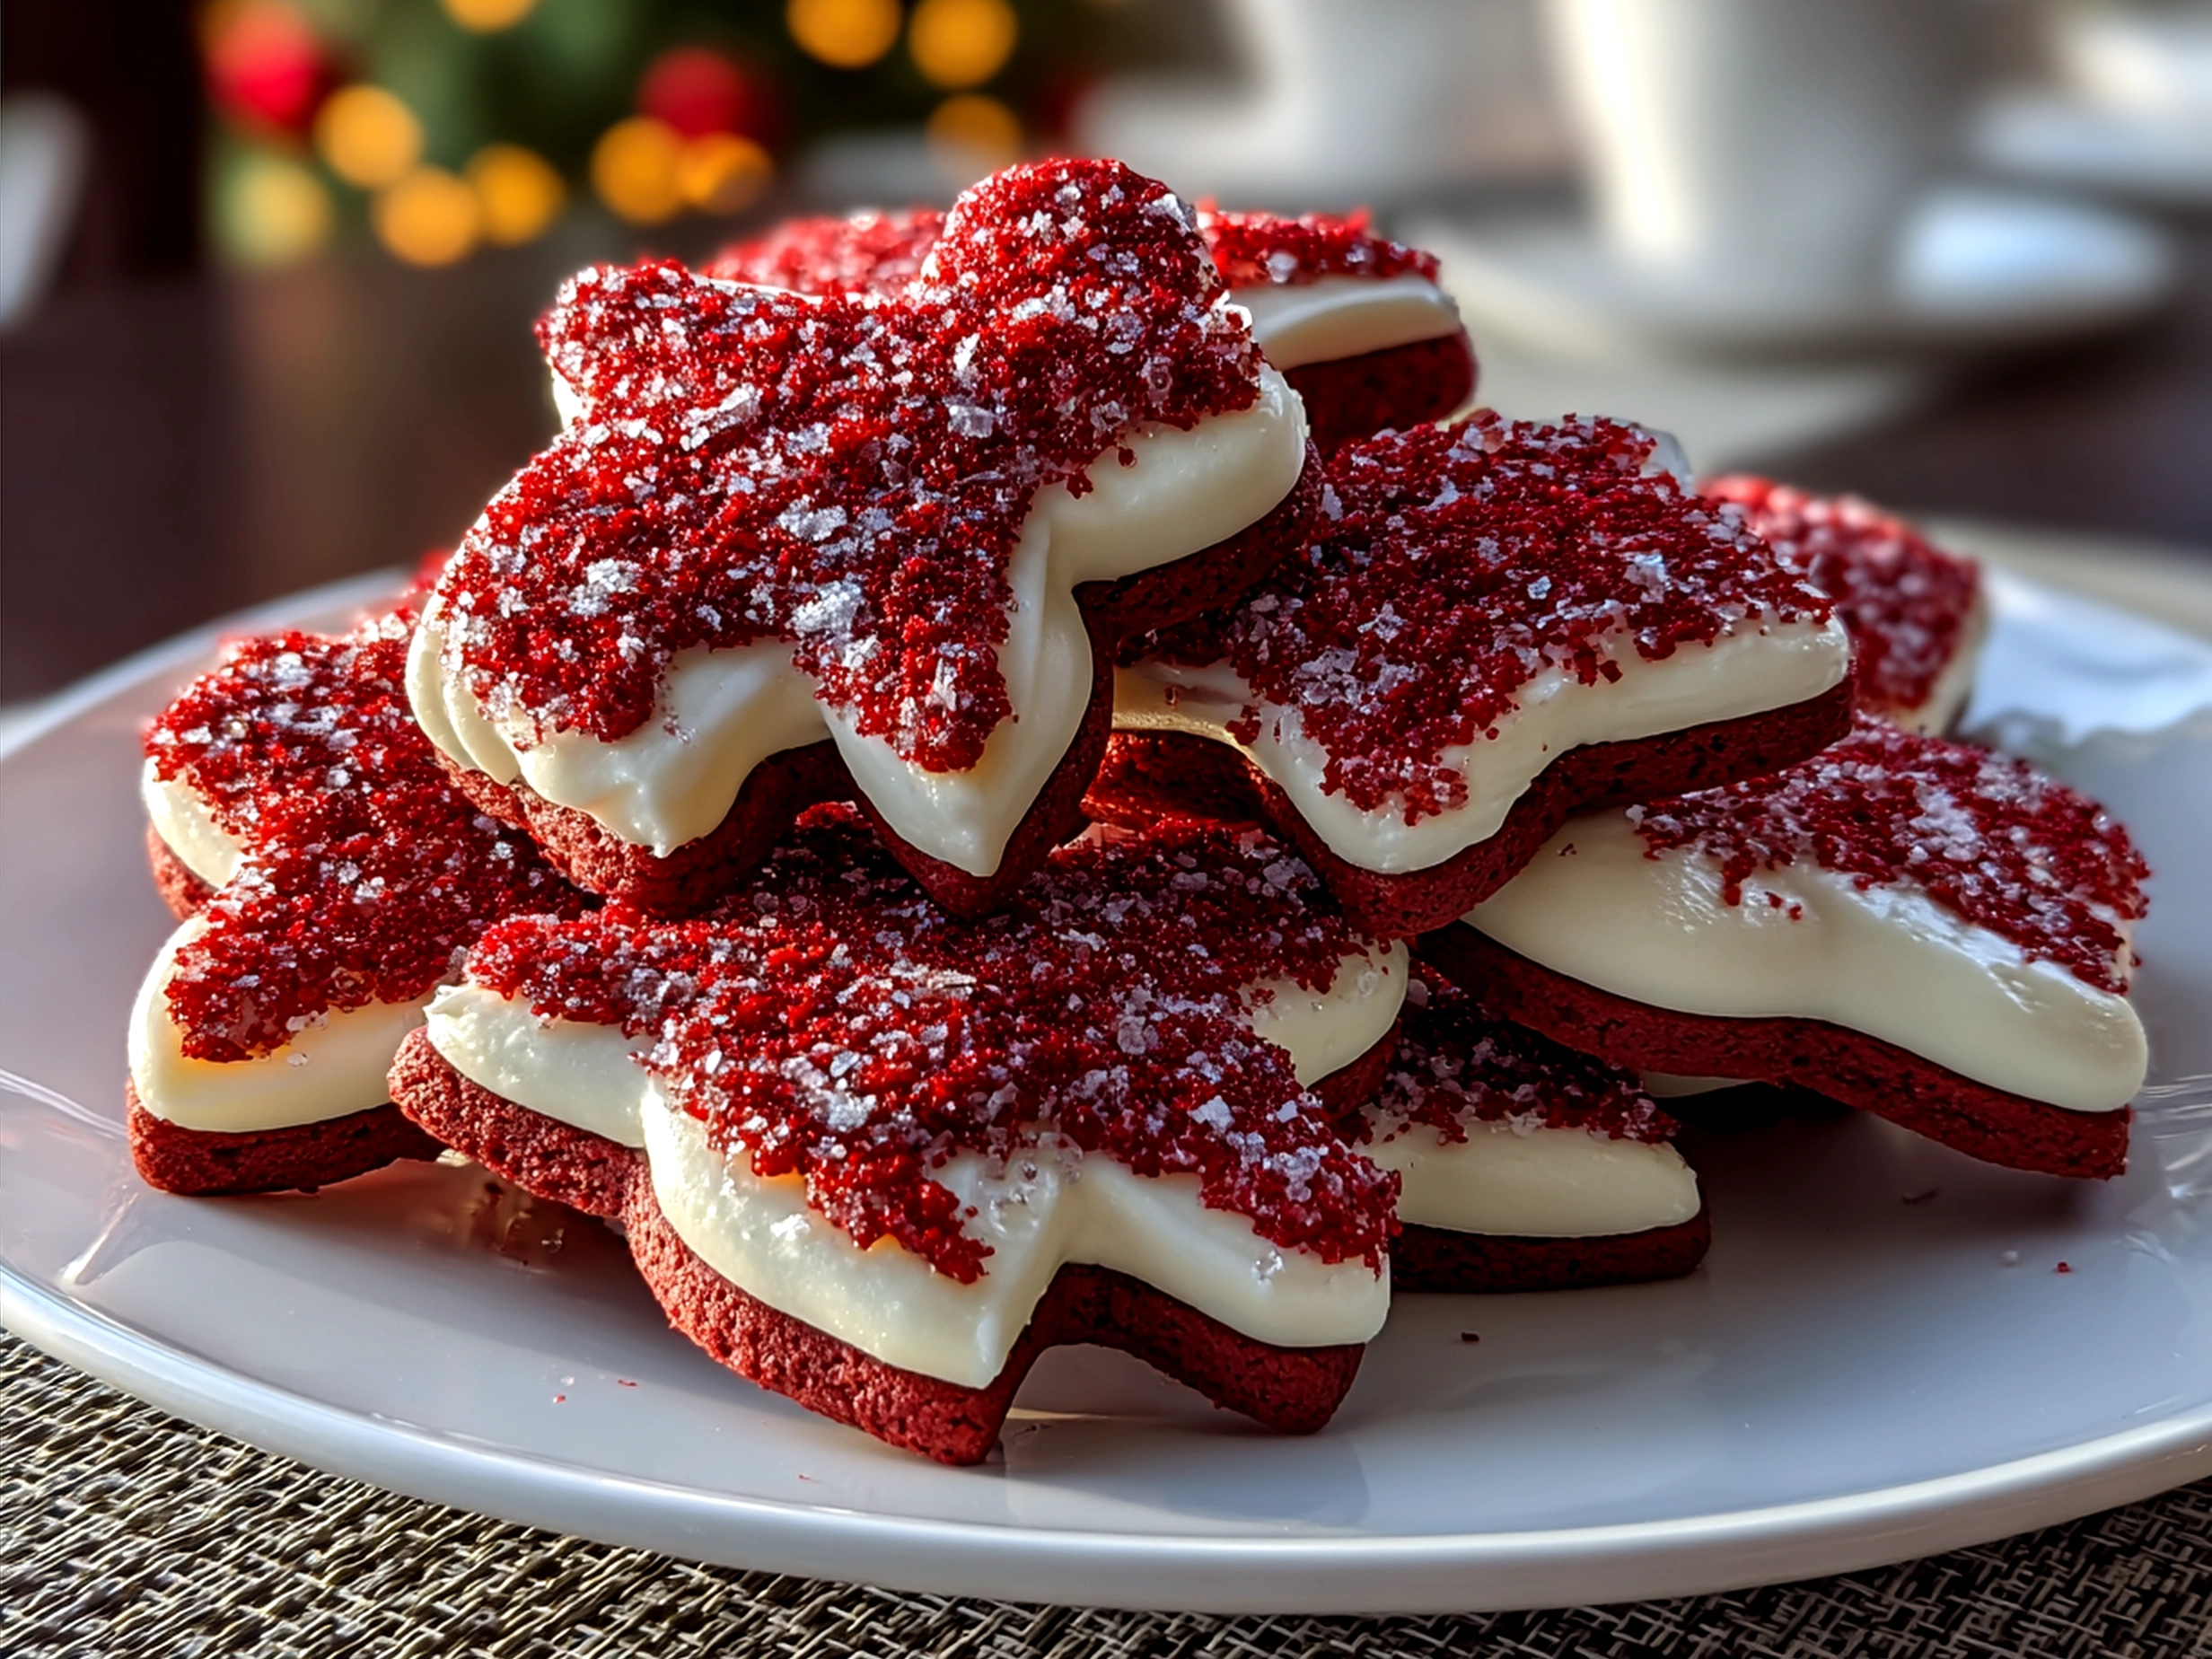
The first batch of these Red Velvet Bear Cookies came out of the oven, glowing in that perfect red hue, still warm with just the right crumb. When I added my chocolate cream cheese frosting, that smooth tangy richness climbing up every bite? Game over. Those little bears didn’t just taste dreamy; they looked like something special was waiting on your plate, like a sweet hug in cookie form.
I flipped through some of my favorite holiday cookie ideas and valentine’s day treats to gather inspiration. Honestly, these Red Velvet Bear Cookies have become my go-to recipe for everything from quick weeknight celebrations to festive gatherings where you want a bit more personality on the dessert table. Friends couldn’t stop smiling after the first bite during one of our poker nights. That’s when I realized I’d found a winner. The magic is in the bold flavor, the cozy texture, and that super cute bear shape—it’s a total mood booster.
Fellow food lovers, if you’re all about comfort food with a twist, consider this an invite to join my little flavor adventure. This Red Velvet Bear Cookies recipe will have you feeling like you’re sharing not just dessert, but a moment of pure happy dance worthy joy. Grab your cookie cutters and get ready! Let’s make this treat something unforgettable together.
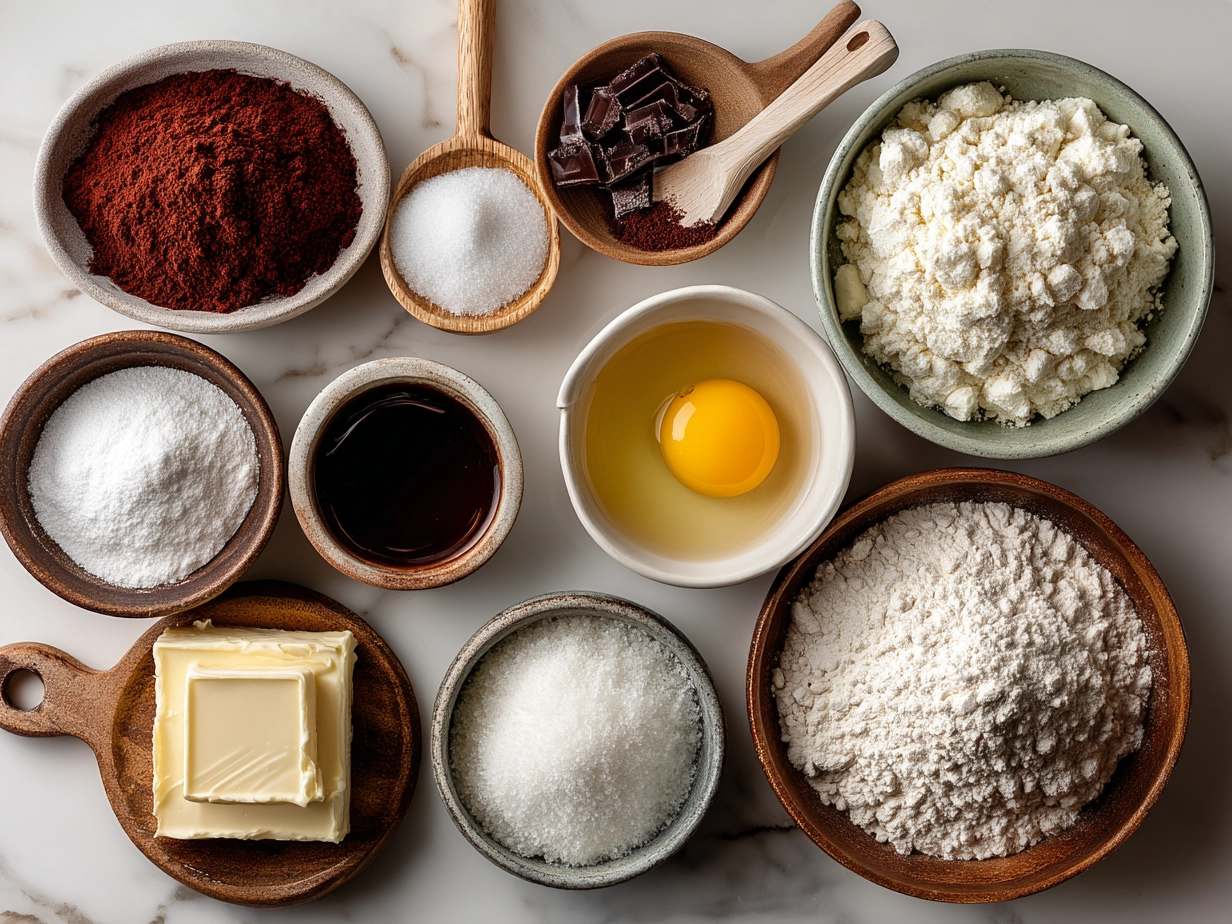
Ingredients You Need
For these unforgettable Red Velvet Bear Cookies, here’s everything you’ll want on hand:
- 2 1/2 cups all-purpose flour – Grab this from your usual aisle; no specialty stores needed.
- 2 tablespoons unsweetened cocoa powder – This gives our cookie that subtle chocolate depth without overpowering.
- 1 teaspoon baking soda
- 1/2 teaspoon salt
- 1 cup unsalted butter, softened – I always love the richness butter brings in my Red Velvet Bear Cookies.
- 1 1/2 cups granulated sugar – Sweet but balanced.
- 2 large eggs
- 2 tablespoons red food coloring – This gets your cookies that iconic red velvet pop.
- 1 teaspoon vanilla extract
- 1 teaspoon white vinegar – Helps to boost that classic red velvet tang.
- 1 cup buttermilk – No worries if you don’t have buttermilk. I often use a cup of milk with a tablespoon of lemon juice or vinegar for my Red Velvet Bear Cookies, and it works perfectly.
- Chocolate cream cheese frosting (recipe below!)
Chocolate cream cheese frosting:
- 8 oz cream cheese, softened
- 1/2 cup unsalted butter, softened
- 2 cups powdered sugar
- 1/4 cup cocoa powder
- 1 teaspoon vanilla extract
This Red Velvet Bear Cookies ingredient list is all about bold flavors that actually work together! The cocoa meets tangy buttermilk and cream cheese frosting to create absolute delicious magic.
For busy weeknights when time is short, try prepping your cookie dough the night before, rolling it out fresh in the morning or afternoon. Keep dough tightly wrapped in the fridge — it stays fresh for up to 3 days without losing any flavor or texture. I like adding an extra splash of vanilla to my Red Velvet Bear Cookies; it gives a hint of warmth that makes these little bears irresistible.
If you’re hunting for holiday cookie ideas or special valentine’s day treats, these ingredients come together for something wonderfully shareable!
Let’s Make Some!
Ready to bring these Red Velvet Bear Cookies to life? Let’s get cooking, friend!
- Preheat your oven to 350°F. Line two baking sheets with parchment paper. This recipe usually fills two trays, so get ready for a fun baking session!
- Mix the dry: Whisk together flour, cocoa powder, baking soda, and salt in a medium bowl. Your Red Velvet Bear Cookies foundation is set!
- Cream the butter and sugar: Beat the softened butter and granulated sugar in a large bowl until light and fluffy. This step makes your cookies soft and tender.
- Add eggs, flavor, and color: Beat in the eggs, vanilla, red food coloring, and vinegar until everything is well combined. Your dough is starting to glow now.
- Combine dry and wet: Alternately add the dry mixture and buttermilk, beginning and ending with the dry. Mix just until combined—don’t overwork it! This keeps your Red Velvet Bear Cookies perfect.
- Chill the dough: Wrap your dough in plastic and chill it for at least an hour. This helps the flavors to meld and makes rolling easier.
- Roll and cut: Lightly flour your surface and roll out the dough about 1/4 inch thick. Time for the bear-shaped cookies! Use your bear cookie cutters to punch out shapes. Don’t worry if some edges aren’t perfect, a little charm adds character.
- Bake: Place the bears on your baking sheets about an inch apart. Bake for 10-12 minutes. Your kitchen will start filling with that irresistible red velvet-cookie scent!
- Cool completely: Let the Red Velvet Bear Cookies cool on the pan for 5 minutes, then transfer to wire racks. Patience now—cooling means you get the best frosting texture later.
- Frost time: While cookies cool, whip up the chocolate cream cheese frosting by beating cream cheese and butter until smooth. Add powdered sugar, cocoa powder, and vanilla, and mix until fluffy. Pipe or spread the frosting onto your bears once fully cooled.
This is my favorite part of making Red Velvet Bear Cookies—watching the magic happen! The contrast of red and creamy chocolate frosting looks stunning and tastes like a dream.
I’ve done this step with busy weeknight vibes by prepping frosting ahead and piping right before serving—it saves time without losing any deliciousness.
Want extra fun? Check out related treats like my Red Velvet Sugar Cookies and add a little variety. Or, if you’re in the mood for fruity sweetness with a zing, my Lemon Raspberry Cookies make a great companion.
Pro tip: These bear-shaped cookies hold their shape beautifully, so even kitchen newbies will feel like pros!
How to Serve Up This!
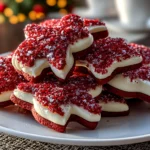
Serving these Red Velvet Bear Cookies is almost as fun as making them. I love laying them out on a cute platter with swirls of chocolate cream cheese frosting catching the eye.
People literally do happy dances when this Red Velvet Bear Cookies hits the table with a side of fresh berries or a warm cup of coffee. The bold red color and creamy frosting make these perfect for valentine’s day treats or any festive occasion. You can bet they’ll be the star among holiday cookie ideas too!
For a twist, try drizzling a bit of melted white chocolate over the frosted bears for that extra wow factor. Or, sandwich two cookies together with extra frosting in between for a cute bite-sized sandwich cookie.
Leftovers? I keep mine in an airtight container at room temperature for up to 4 days, but they rarely last that long. If they do stick around, try crumbling some over vanilla ice cream or fold bits into your morning yogurt for a little breakfast treat.
If you love fusion flavors, I’ve taken these bears into cookie bars, inspired by Red Velvet Bars – Homemade In The Kitchen. The bars make sharing easy and keep that red velvet dream alive.
This Red Velvet Bear Cookies is perfect for weeknight winners that need to be special without fuss. For more festive shapes, check out some fun heart-shaped cookie ideas at this heart cookie inspiration group.
FAQs:
Q: Will kitchen newbies succeed with this Red Velvet Bear Cookies?
A: Absolutely! The dough is forgiving, and the bear cutters add a bit of fun that removes pressure. I recommend chilling the dough well for easier handling. I’ve watched first-timers nail these with smiles all around.
Q: What if my Red Velvet Bear Cookies don’t hold perfect shapes?
A: No worries! These bear-shaped cookies are charming with a little rustic edge. Baking them slightly longer helps the edges crisp a bit more, but flavor stays fantastic either way.
Q: How can I prep this Red Velvet Bear Cookies for busy weeknights?
A: Make the dough ahead and store it in your fridge for up to 3 days. You can also freeze the dough balls before baking. The frosting stores well too, so pipe it fresh on the day you serve.
Q: Can I make these without red food coloring?
A: You can, but the signature red velvet look will be missing. Try using beet powder for a natural tint and earthier flavor. Your Red Velvet Bear Cookies will still be cozy and delicious!
Q: Any tips on the chocolate cream cheese frosting?
A: Make sure your cream cheese and butter are fully softened for the smoothest frosting. Add the cocoa slowly—taste as you go to get that perfect balance of chocolate and tang.
Q: What’s the best way to store leftover cookies?
A: Airtight container at room temperature is best. If your house is warm, pop them in the fridge and bring to room temp before serving. They’ll keep their texture and taste for days.
Q: How do these compare to other Red Velvet cookie recipes?
A: These stand apart because of the bear shape and the luscious chocolate cream cheese frosting. They’re sweeter than my classic Oatmeal Raisin Cookies but just as satisfying in their own way!
Q: Can I make these for valentine’s day?
A: Yes! These are perfect valentine’s day treats. For even more ideas, check out this Valentine’s Day dessert link I love. They sparkle with love and flavor.
Conclusion:
Red Velvet Bear Cookies bring me so much joy because they combine playfulness, bold flavors, and that cozy comfort food feeling in one bite. My Red Velvet Bear Cookies flavor secrets?
- Use real buttermilk (or a simple milk and vinegar swap) for that classic tang.
- Don’t skip the red food coloring—it’s part of the magic.
- Chocolate cream cheese frosting is essential to balance the sweetness and add richness.
I’ve played around with some fun twists like adding mini chocolate chips inside the dough, swapping cream cheese frosting for a classic vanilla buttercream, and even making bite-sized Red Velvet Bear Cookies for party trays. Holidays call for the frosted bears, but I love the chip-filled ones for everyday sweet cravings.
Fellow food lovers, trust your taste buds and get creative with these adorable cookies! I’m so excited for you to try this Red Velvet Bear Cookies recipe and watch your kitchen fill up with delicious magic.
If you fall in love with these, don’t forget to check out my other cookie favorites like Red Velvet Sugar Cookies, Lemon Raspberry Cookies, and the ever-classic Oatmeal Raisin Cookies. Let’s make every bite count and turn treats into moments worth celebrating!
Red Velvet Bear Cookies
Delight in these charming Red Velvet Bear Cookies, featuring a soft, rich cake-like texture with a hint of cocoa and a classic cream cheese frosting finish. Perfect for festive occasions or a fun treat any time.
- Prep Time: 20 minutes
- Cook Time: 12 minutes
- Total Time: 32 minutes
- Yield: 24 cookies
- Category: Dessert
- Method: Baked
- Cuisine: American
Ingredients
- 1 cup unsalted butter, softened
- 1 cup granulated sugar
- 1 large egg
- 1 tablespoon red food coloring
- 2 tablespoons unsweetened cocoa powder
- 2 1/2 cups all-purpose flour
- 1 teaspoon baking soda
- 1/2 teaspoon salt
- 1 tablespoon white vinegar
- 1 teaspoon vanilla extract
- 1/2 cup buttermilk
- 4 oz cream cheese, softened
- 1/4 cup unsalted butter, softened (for frosting)
- 2 cups powdered sugar
- 1 teaspoon vanilla extract (for frosting)
Instructions
- Preheat oven to 350°F (175°C) and line baking sheets with parchment paper.
- In a large bowl, cream together 1 cup butter and granulated sugar until light and fluffy.
- Beat in the egg and red food coloring until well combined.
- In a separate bowl, whisk together cocoa powder, flour, baking soda, and salt.
- Combine vinegar and vanilla extract with buttermilk in a small bowl.
- Alternately add dry ingredients and buttermilk mixture to the creamed mixture, beginning and ending with dry ingredients. Mix until just combined.
- Roll out dough to about 1/4 inch thickness on a lightly floured surface.
- Use bear-shaped cookie cutters to cut out cookies and place them on prepared baking sheets.
- Bake for 10-12 minutes or until edges are set.
- Cool cookies completely on wire racks.
- For frosting, beat cream cheese and 1/4 cup butter until smooth.
- Gradually add powdered sugar and vanilla extract, mixing until creamy.
- Frost cooled cookies as desired and decorate if preferred.
Notes
For an extra festive touch, decorate the cookies with edible glitter or small candy accents to enhance the bear shapes.