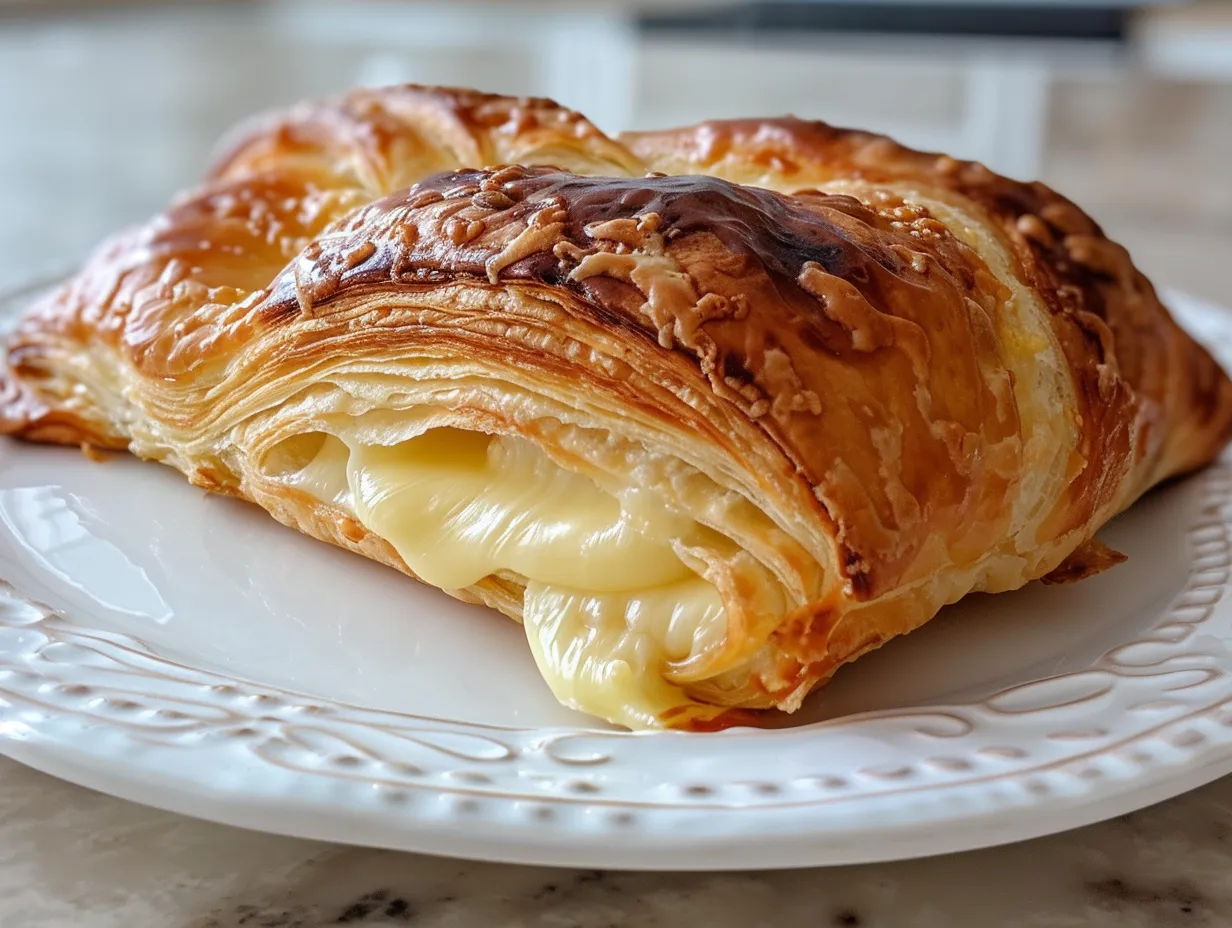
Hey fellow food lovers! Nyla here from Grill Drip, ready to turn your day around with a super satisfying treat. We’re diving headfirst into the world of flaky pastry, creamy cheese filling, and pure deliciousness. Get ready for my homemade cheese Danish recipe – it’s seriously a happy dance in your mouth! This isn’t your average bakery copycat; it’s a flavor adventure I’ve been perfecting through late-night kitchen experiments.
I’m all about taking everyday meals and making them absolutely unforgettable. And trust me, this homemade cheese Danish recipe does just that! It’s more than just a recipe; it’s an invitation to create something special in your own kitchen. So, grab your apron, and let’s get started!
This journey all started when I wanted a sweet treat that felt like a warm hug. I wanted something easy enough for a weeknight, yet impressive enough for a weekend brunch. After countless trials, tweaks, and taste tests (the best part!), I landed on the perfect homemade cheese Danish recipe. It’s got the perfect balance of sweet and tangy, with a flaky crust that practically melts in your mouth.
What makes this homemade cheese Danish recipe a happy accident? Well, I originally misread the sugar measurement – oops! – but it turned out AMAZING. That’s the magic of comfort food, right? Don’t be afraid to experiment, because that’s where the best flavor is found. I’m so excited to share this with you, so let’s get started!
INGREDIENTS You Need
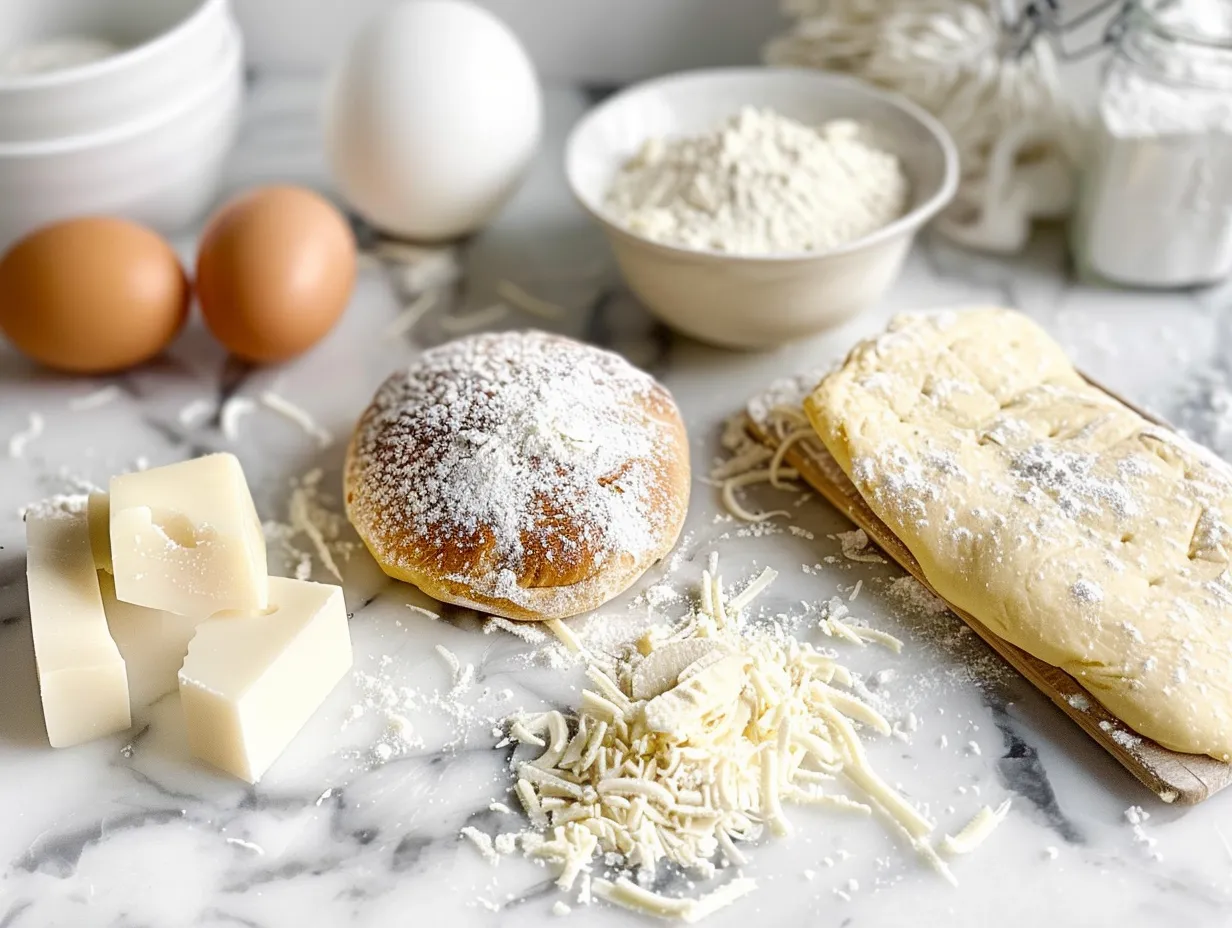
This homemade cheese Danish recipe ingredient list is all about bold flavors that actually work together! These are the ingredients you’ll need to make some delicious magic happen:
- 1 sheet (14.1 oz) of Puff Pastry: You can usually find this in the frozen section of your grocery store.
- 8 oz Cream Cheese: Make sure it’s softened for easy mixing.
- 1/2 cup Granulated Sugar: For sweetness that balances the tang of the cream cheese.
- 1 Large Egg: This will help bind the filling together.
- 1 teaspoon Vanilla Extract: Because a little vanilla goes a long way in making things taste amazing!
- Zest of 1 Lemon: This homemade cheese Danish recipe gets its amazing taste from the zest of one lemon to brighten up the cream cheese filling.
- 2 Tablespoons Milk: For brushing the pastry to get that golden-brown color.
- Powdered Sugar (for dusting): Optional, but it makes them look extra fancy.
No worries if you don’t have lemon! I’ve used a tiny splash of lemon juice in my homemade cheese Danish recipe. You can grab these ingredients during your normal shopping trip. I love adding a little extra vanilla extract to my homemade cheese Danish recipe for an extra cozy flavor!
Here’s my homemade cheese Danish recipe secret that takes it from good to incredible: quality ingredients! Don’t skimp on the vanilla or lemon zest. These little touches make a HUGE difference. You can keep the puff pastry in the freezer until about 30 minutes before you’re ready to use it. This will save you some prep time.
Let’s Make Some!
Ready to bring this homemade cheese Danish recipe to life? Let’s go!
- Get Ready: Preheat your oven to 375°F (190°C). Line a baking sheet with parchment paper. This is where the magic starts happening!
- Mix the Filling: In a medium bowl, combine the softened cream cheese and granulated sugar. Beat until smooth and creamy. Add the egg, vanilla extract, and lemon zest. Mix until everything is well combined. This is my favorite part of making homemade cheese Danish recipe – watch the magic happen!
- Prep the Pastry: Gently unfold the puff pastry sheet on a lightly floured surface. Cut it into 9 equal squares. If you want, you can check out Cook Fast Eat Well for a visual guide to cutting the pastry.
- Add the Filling: Place a spoonful of the cream cheese filling in the center of each square. Don’t overfill, or it might spill out during baking.
- Fold it Up: Bring two opposite corners of each square towards the center and pinch them together to seal. Repeat with the other two corners. You should have a little “package” with the filling peeking out.
- Brush with Milk: Brush the top of each Danish with milk. This will help them get that beautiful golden-brown color. While your homemade cheese Danish recipe is doing its thing, get ready for some amazing aromas!
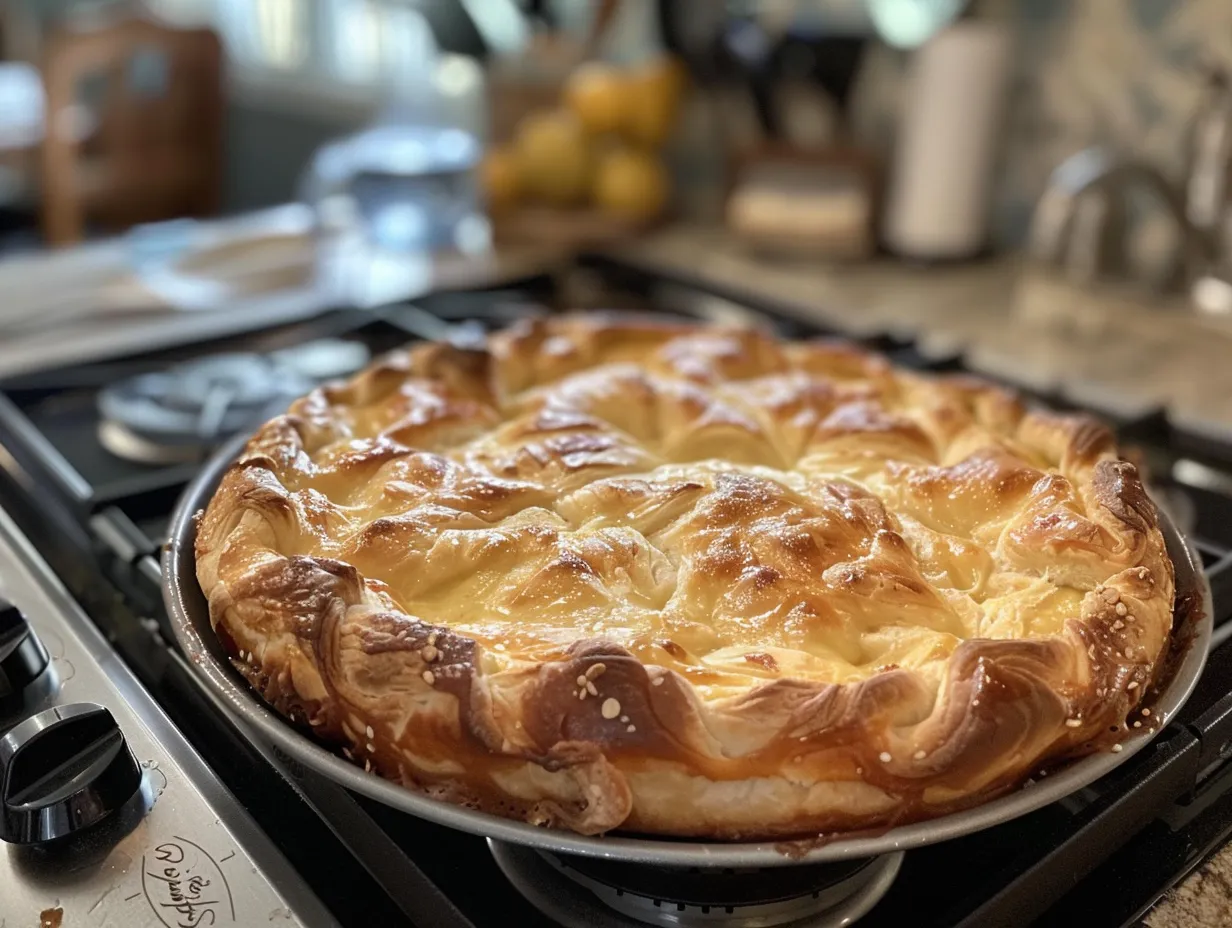
- Bake: Place the baking sheet in the preheated oven and bake for 20-25 minutes, or until the pastries are golden brown and the filling is set. This homemade cheese Danish recipe usually takes me about 22 minutes to bake perfectly.
- Cool and Enjoy: Remove from the oven and let the Danish cool on the baking sheet for a few minutes before transferring them to a wire rack to cool completely. Dust with powdered sugar, if desired. Don’t worry if your homemade cheese Danish recipe looks a little imperfect – they’ll still taste incredible!
In my kitchen, this homemade cheese Danish recipe usually takes about 15 minutes of prep time and 25 minutes of baking time. I’ve discovered that letting the pastries cool completely before dusting with powdered sugar prevents the sugar from melting. If you’re short on time, you can use pre-made cream cheese filling. Just make sure it’s a flavor you love! I always make sure that the pastry is a golden-brown color for optimal flakiness.
How to Serve Up This!
These homemade cheese Danish recipe treats are perfect for just about any occasion! Seriously, people literally do happy dances when this homemade cheese Danish recipe hits the table with a side of fresh berries and a steaming cup of coffee. Here are a few ideas on how to serve them up:
- Brunch: These are a guaranteed hit at any brunch spread. Pair them with scrambled eggs, bacon, and a fruit salad for a complete meal.
- Dessert: Serve them as a sweet treat after dinner. A scoop of vanilla ice cream on the side takes them to the next level! If your kids love this, they’ll go crazy for my chicken parmesan grilled cheese.
- Snack: Perfect for an afternoon pick-me-up with a cup of tea or coffee.
- Gifting: Wrap a few in a pretty box or bag and give them as a homemade gift. I like to get inspiration for presentation ideas from sites like stetted.com.
- Weeknight Treat: This homemade cheese Danish recipe is perfect for those weeknight dinners that need to be special.
For a bolder flavor pairing, try serving these with a drizzle of balsamic glaze. The tangy balsamic complements the sweetness of the pastry perfectly. If you have any leftover homemade cheese Danish recipe treats, you can transform them into a bread pudding! Just cube them up, soak them in a custard mixture, and bake until golden brown. These variations of this homemade cheese Danish recipe is the perfect dessert!
I’ve also experimented with adding a sprinkle of cinnamon sugar to the tops before baking. This gives them a warm, comforting flavor. These homemade cheese Danish recipe treats are perfect for a special weekend breakfast. Want some more breakfast ideas? Check out my recipe for cream cheese tortilla bites.
FAQs:
Got questions about this homemade cheese Danish recipe? Don’t worry, I’ve got answers! I want you to feel totally confident in the kitchen. Here are some of the most common questions I get about this recipe:
Q: Will kitchen newbies succeed with this homemade cheese Danish recipe?
A: Absolutely! This homemade cheese Danish recipe is super straightforward. The most important thing is to make sure your cream cheese is softened.
Q: What if I mess up my homemade cheese Danish recipe? (Spoiler: it’ll still taste incredible!)
A: Even if they don’t look perfect, they’ll still taste amazing! Remember my story about misreading the sugar? Those imperfections are what make it unique. If you are a kitchen newbie, for more sanity-saving dinner ideas, check out my herb and cheese stuffed puff pastry bites.
Q: How can I prep this homemade cheese Danish recipe for busy weeknights?
A: You can mix the cream cheese filling ahead of time and store it in the fridge. Then, when you’re ready to bake, just assemble the pastries and pop them in the oven. Budget Bytes also has good prepping tips.
Q: Can I use a different kind of cheese?
A: While cream cheese is the classic choice, you could experiment with mascarpone or ricotta cheese. Just make sure it’s a soft cheese that will blend well.
Q: How do I store leftover pastries?
A: Store them in an airtight container at room temperature for up to 2 days. They’re best enjoyed fresh, but they’re still delicious the next day.
Q: Can I freeze these pastries?
A: Yes, you can! Freeze them after they’ve cooled completely. When you’re ready to eat them, thaw them at room temperature and warm them up in the oven.
Q: Can I add fruit to the filling?
A: Definitely! Berries, apples, or even a little bit of jam would be delicious additions to the filling.
I’ve found that using a pastry bag to pipe the cream cheese filling makes it easier to control the amount of filling in each pastry. Also, don’t be afraid to experiment with different extracts! Almond extract or orange extract would also be delicious in this homemade cheese Danish recipe. My family loves these pastries, especially when they’re still warm from the oven! If your kids love this homemade cheese danish recipe, you can also try my recipe for herb and cheese stuffed puff pastry bites.
CONCLUSION:
This homemade cheese Danish recipe brings me so much joy because it’s a reminder that you don’t need fancy ingredients or complicated techniques to create something truly special. It’s about taking simple ingredients and transforming them into a comforting, flavorful treat that makes people smile.
My homemade cheese Danish recipe Flavor Secrets:
- Lemon Zest is Key: Don’t skip the lemon zest! It adds a brightness that cuts through the richness of the cream cheese.
- Golden Brown Goodness: Make sure the pastries are a deep golden brown before you take them out of the oven. This ensures that the pastry is fully cooked and flaky.
- Don’t Overfill: Resist the urge to overfill the pastries! Too much filling can cause them to become soggy.
I’ve tested so many delicious variations of this homemade cheese Danish recipe! Here are a few of my favorites:
- Berry Blast: Add fresh berries to the filling for a burst of fruity flavor. This version is perfect for summer brunches.
- Apple Cinnamon: Mix diced apples and cinnamon into the filling for a warm, comforting treat. This one is great for fall gatherings.
- Chocolate Chip: Add mini chocolate chips to the filling for a decadent twist. This version is a hit with kids (and adults!).
Trust your taste buds and get creative! Don’t be afraid to experiment with different flavors and fillings to create your own signature homemade cheese Danish recipe. I’m so excited for you to try this homemade cheese Danish recipe and create your own delicious magic in the kitchen! Happy cooking!
homemade cheese danish recipe

Indulge in the flaky, creamy goodness of homemade cheese danishes! This recipe provides easy-to-follow steps for creating delightful pastries that are perfect for breakfast or brunch.
- Prep Time: 20 minutes
- Cook Time: 20 minutes
- Total Time: 40 minutes
- Yield: 9 danishes
- Category: Breakfast
- Method: Baked
- Cuisine: American
Ingredients
- 1 package (14.1 ounces) refrigerated puff pastry
- 8 ounces cream cheese, softened
- 1/2 cup granulated sugar
- 1 large egg
- 1 teaspoon vanilla extract
- 1/4 cup milk
- 2 tablespoons powdered sugar, for dusting
Instructions
- Preheat your oven to 375°F (190°C). Line a baking sheet with parchment paper.
- In a medium bowl, beat the softened cream cheese and granulated sugar until smooth and creamy.
- Beat in the egg and vanilla extract until well combined.
- Unfold the puff pastry sheet on a lightly floured surface. Cut into 9 squares.
- Place a spoonful of the cream cheese mixture in the center of each square.
- Bring two opposite corners of each square to the center and pinch to seal. Brush with milk.
- Bake for 15-20 minutes, or until golden brown.
- Let cool slightly on the baking sheet before transferring to a wire rack.
- Dust with powdered sugar before serving.
Notes
For a fruity twist, add a dollop of your favorite jam on top of the cheese filling before baking.