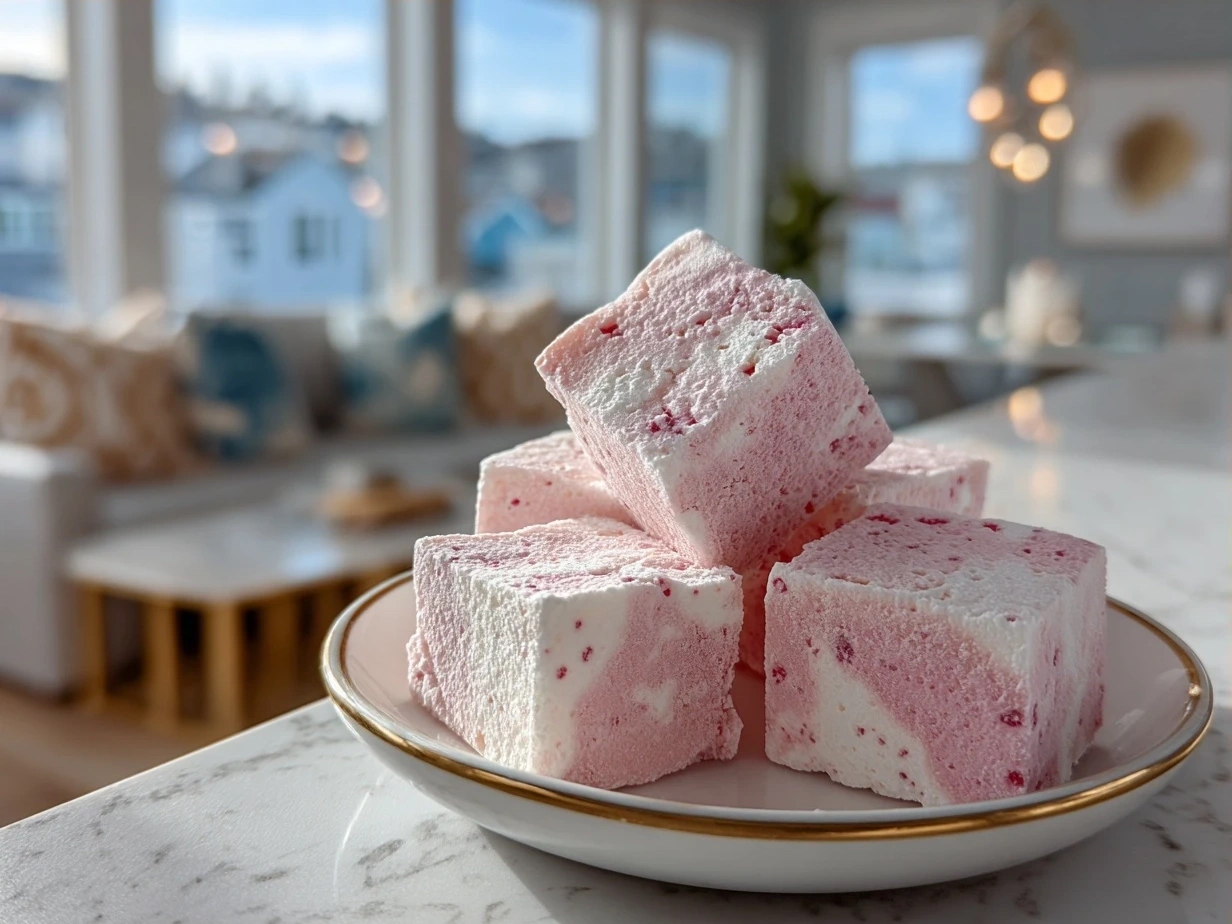
Hey there, fellow food lovers! Nyla from Grill Drip here, ready to take you on another flavor adventure! Get ready to whip up something absolutely magical – Cotton Candy Fudge! This recipe is all about turning the fun of the carnival into a creamy, dreamy dessert. I’m so excited to share this with you because it turns every little gathering into a sweet celebration.
This Cotton Candy Fudge is a happy accident from a late-night kitchen experiment that turned into a family favorite. After taste testing tons of different candies, I just wanted to create something that had that signature cotton candy taste! It’s super simple to make, and the pastel colors make it a total showstopper! So, grab your apron, and let’s get ready to create some delicious magic together!
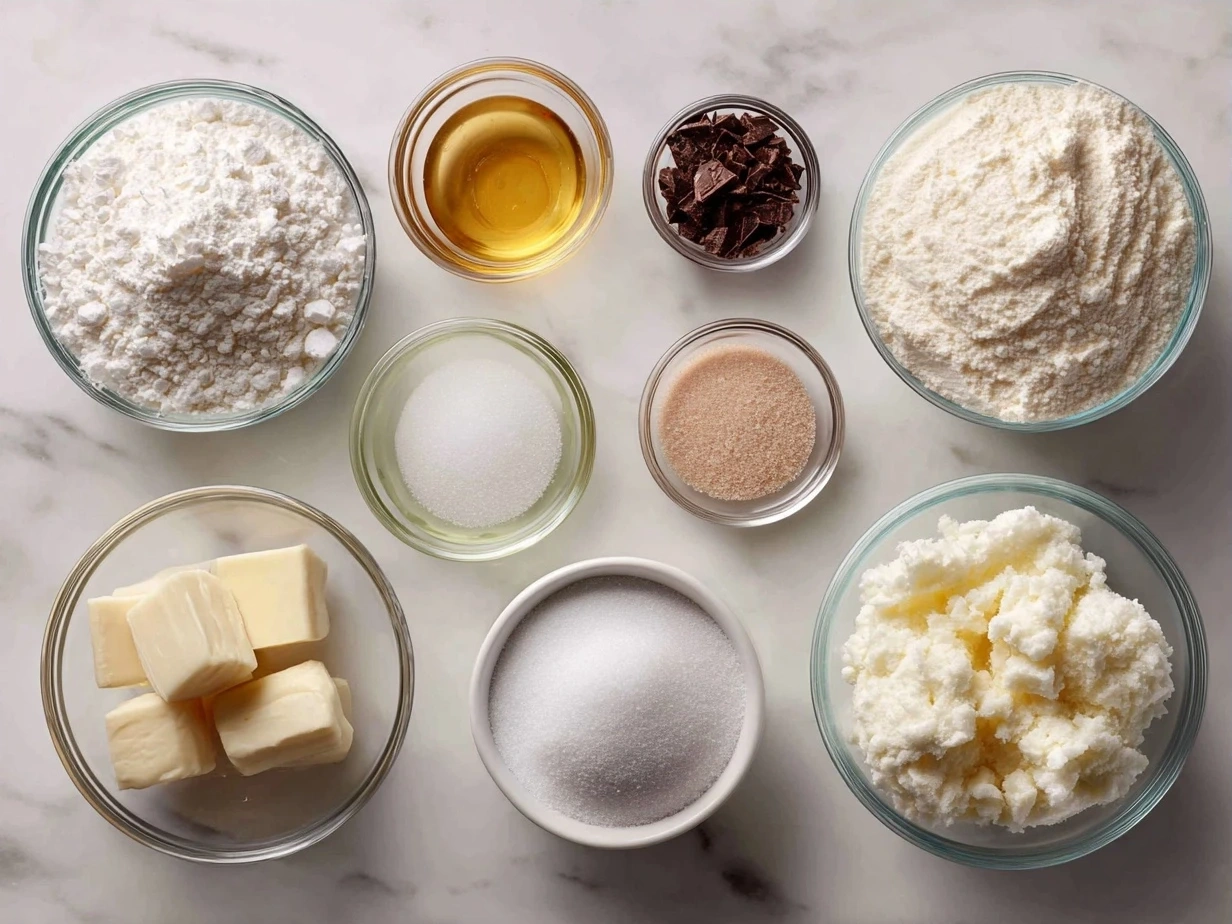
INGREDIENTS You Need
This Cotton Candy Fudge ingredient list is all about bold flavors that actually work together! Here’s what you’ll need to create this delightful treat. You can grab everything during your normal shopping trip.
- 1 (14 ounce) can of sweetened condensed milk
- 3 cups white chocolate chips
- 1 teaspoon cotton candy flavoring
- Pink and blue gel food coloring
- 1/4 cup rainbow sprinkles
No worries if you don’t have rainbow sprinkles, they’re not required! I sometimes use other sprinkles or candy pieces. You can even crumble up some leftover candy floss! This Cotton Candy Fudge gets its amazing taste from the white chocolate and the cotton candy flavoring – it’s the perfect balance of sweet and dreamy!
For those busy weeknights, I love measuring out all my ingredients beforehand. It saves so much time and makes the whole process even smoother. I love adding extra sprinkles to my Cotton Candy Fudge for that extra pop of color and fun! Store your finished fudge in an airtight container in the refrigerator for ultimate freshness.
Let’s Make Some!
This is where the magic starts happening! Follow these easy steps, and you’ll have amazing Cotton Candy Fudge in no time.
- First, line an 8×8 inch baking pan with parchment paper. This will make it super easy to remove the fudge later! I like to leave a little overhang so I can just lift the fudge right out.
- In a large, microwave-safe bowl, combine the sweetened condensed milk and white chocolate chips. I use Ghirardelli, but any good quality white chocolate chip will work great. Trust me; good chocolate makes all the difference in this pastel fudge recipe!
- Microwave on high for 30 seconds, then stir. Repeat until the chocolate is completely melted and smooth. Be careful not to overheat the chocolate! In my kitchen, this usually takes about 1-2 minutes total.
- Stir in the cotton candy flavoring. This stuff smells amazing! It really brings that authentic candy floss fudge flavor to life. I always add an extra drop, because who doesn’t love a little extra cotton candy flavor?
- Divide the melted fudge mixture into two separate bowls.
- Add a few drops of pink gel food coloring to one bowl and stir until you reach your desired shade of pink. Then, add a few drops of blue gel food coloring to the other bowl and do the same. Don’t worry if your pink and blue fudge looks slightly different shades – that’s what makes it unique!
- Pour the pink fudge into the prepared pan, spreading it evenly. Then, gently pour the blue fudge over the pink fudge.
- Use a knife or toothpick to swirl the colors together, creating a beautiful homemade carnival fudge effect. Don’t over-swirl; you want to keep some distinct areas of pink and blue.
- Sprinkle the rainbow sprinkles evenly over the top of the fudge. Press them in gently so they stick.
- Refrigerate for at least 2 hours, or until firm. This is where the real patience comes in, but trust me, it’s worth the wait!
- Once the fudge is firm, lift it out of the pan using the parchment paper overhang. Cut into squares and enjoy!
This is my favorite part of making Cotton Candy Fudge – watch the magic happen! While your fudge is doing its thing, get ready for some amazing aromas!
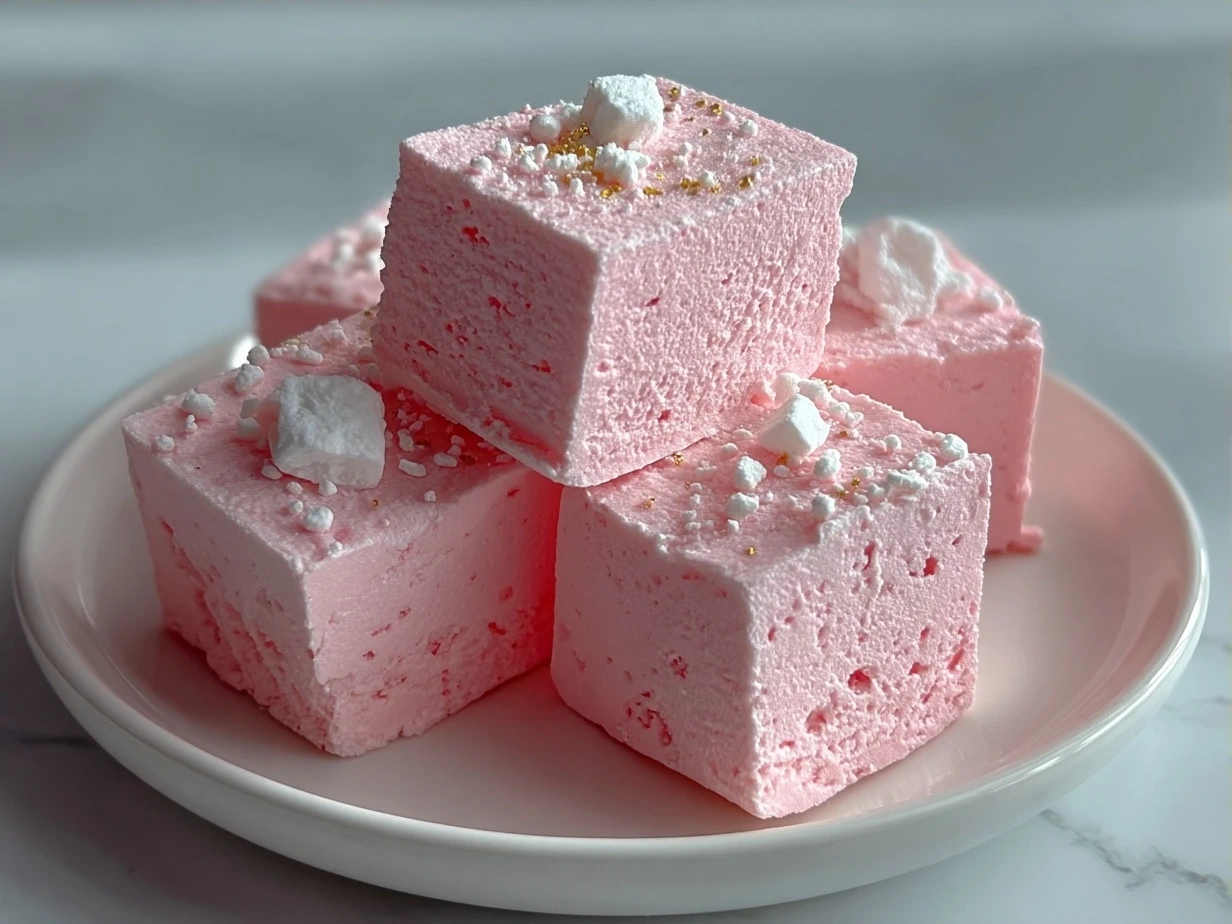
How to Serve Up This!
People literally do happy dances when this Cotton Candy Fudge hits the table! I love to serve it at birthday parties, potlucks, and game nights. It’s always a crowd-pleaser! This fudge is the perfect standalone dessert, but here are some fun pairing ideas:
- With Vanilla Ice Cream: The cool, creamy vanilla perfectly complements the sweet cotton candy flavor.
- Alongside a Cup of Hot Chocolate: A warm, comforting drink with a sweet, fun dessert – what could be better?
- As Part of a Dessert Platter: Combine it with other colorful candies and treats for a show-stopping display.
For presentation, I like to arrange the fudge squares on a pretty platter with some extra sprinkles scattered around. You could even add some actual cotton candy for an extra touch of whimsy! This easy cotton candy dessert is perfect for those weeknight gatherings that need to be special!
If you have any leftover fudge (which is rare!), you can chop it up and mix it into ice cream or use it as a topping for cupcakes. You can even melt the fudge with some milk to make Cotton Candy flavored hot chocolate! Check out these marshmallow swirl fudge.
FAQs:
Got questions about making this amazing Cotton Candy Fudge? Don’t worry, I’ve got you covered! Here are some frequently asked questions from fellow food lovers:
Will kitchen newbies succeed with this Cotton Candy Fudge?
Absolutely! This recipe is super straightforward and easy to follow. As long as you pay attention to the chocolate melting process, you’ll be golden! It is one of the easier fudge recipes, so it makes it a perfect choice.
What if I mess up my Cotton Candy Fudge?
(Spoiler: it’ll still taste incredible!) Seriously though, even if the colors aren’t perfectly swirled or the sprinkles are a little uneven, it will still be delicious. Fudge is pretty forgiving! Don’t overthink it!
Can I use a different type of chocolate?
While I highly recommend white chocolate for the best cotton candy fudge flavor, you could experiment with milk chocolate. Just keep in mind that it will change the color and sweetness of the fudge.
How can I prep this Cotton Candy Fudge for busy weeknights?
You can measure out all of your ingredients in advance and store them in separate containers. Then, when you’re ready to make the fudge, you just have to melt, mix, and chill!
Can I add other mix-ins?
Of course! Feel free to get creative. Mini marshmallows, crushed candies, or even a drizzle of melted chocolate would be delicious additions.
How long does the Cotton Candy Fudge last?
Stored properly in an airtight container in the refrigerator, this fudge will last for up to a week. But let’s be real – it probably won’t last that long!
What if my fudge is too soft?
If your fudge is too soft, it probably needs to chill for a longer period. Pop it back in the fridge for another hour or two and it should firm up nicely.
I have had a few readers ask what I prefer over another! My personal experiments are that I choose to stick with White Chocolate. We did experiments with other chocolates, but it just really lost the cotton candy vibe.
CONCLUSION:
This Cotton Candy Fudge brings me so much joy because it’s a reminder of fun times and sweet memories. It’s a dessert that always puts a smile on people’s faces!
My Cotton Candy Fudge Flavor Secrets:
- Quality Chocolate: Use good quality white chocolate for the best flavor and texture.
- Don’t Overheat: Be careful not to overheat the chocolate when melting it. Microwave in short intervals and stir frequently.
- Get Creative with Swirls: Have fun with the swirling! Experiment with different patterns and techniques to create unique designs.
Here are some delicious Cotton Candy Fudge variations I’ve tested:
- Chocolate Chip Cotton Candy Fudge: Add ½ cup of mini chocolate chips to the mixture for a richer flavor.
- Marshmallow Cotton Candy Fudge: Stir in ½ cup of mini marshmallows for a gooey, fun twist.
- Candy Corn Cotton Candy Fudge: A fun fall twist on a carnival treat!
For those parties, I go with the classic pink and blue fudge version. For a cozy night in, the chocolate chip version is my go-to.
I’m so excited for you to try this recipe. Trust your taste buds, get creative, and don’t be afraid to experiment! Check out these candy corn poke cake or strawberry cool whip candy to discover more recipes.
I can’t wait to hear about your Cotton Candy Fudge adventures! Happy cooking!
\n \n Print
Cotton Candy Fudge
Indulge in a whimsical treat with this easy Cotton Candy Fudge! This sweet, melt-in-your-mouth fudge captures the nostalgic flavor of cotton candy in every bite.
- Prep Time: 15 minutes
- Cook Time: 10 minutes
- Total Time: 25 minutes
- Yield: 32 servings
- Category: Dessert
- Method: No-Cook
- Cuisine: American
Ingredients
- 3 cups granulated sugar
- ¾ cup butter (1 ½ sticks), cut into pieces
- ⅔ cup evaporated milk
- 1 (7 ounce) jar marshmallow creme
- 1 teaspoon cotton candy flavoring
- Pink and blue gel food coloring
- ¼ cup rainbow sprinkles (optional)
Instructions
- Line an 8×8 inch baking pan with parchment paper, leaving an overhang on the sides.
- In a heavy-bottomed saucepan, combine the sugar, butter, and evaporated milk.
- Cook over medium heat, stirring constantly, until the mixture comes to a full rolling boil. Boil for 5 minutes, continuing to stir to prevent scorching. Use a candy thermometer to verify that the mixture reaches 235°F (soft-ball stage).
- Remove from heat and stir in the marshmallow creme and cotton candy flavoring until completely smooth.
- Divide the fudge mixture into two bowls. Tint one bowl pink and the other bowl blue with gel food coloring.
- Drop spoonfuls of each color into the prepared pan, alternating pink and blue.
- Swirl the colors gently with a knife or skewer for a marbled effect. Do not overmix.
- Sprinkle with rainbow sprinkles, if desired.
- Refrigerate for at least 2 hours, or until firm.
- Lift the fudge out of the pan using the parchment paper overhang and cut into squares to serve.
Notes
For a richer flavor, use salted butter. Store leftover fudge in an airtight container in the refrigerator for up to 2 weeks.